Where is the best place to display a Christmas village? On a flat, eye-level surface near an outlet — a mantel, a sideboard, a bookshelf or a wide windowsill — where houses sit at two or three heights instead of one flat row. That one change, levels instead of a line-up, is what makes a display look like a real little town rather than a shelf of ornaments. The 25 christmas village display ideas below are organised by location — start with whatever surface you have.
My village started as six houses on a bookcase, and the year it finally looked right was the year I raised the back row on upturned books hidden under the fake snow. Height is everything. I also run all the wires to one power strip with a timer — bending behind furniture every night to unplug a dozen tiny houses gets old by December the tenth. Cotton batting tears into more convincing drifts than bagged snow, and it is cheaper too.
At Decor and Dish we set up a village every year, and the lesson never changes: houses are only half of it. Risers, snow and lighting do the rest.
First, the Three Rules That Make Any Village Look Real
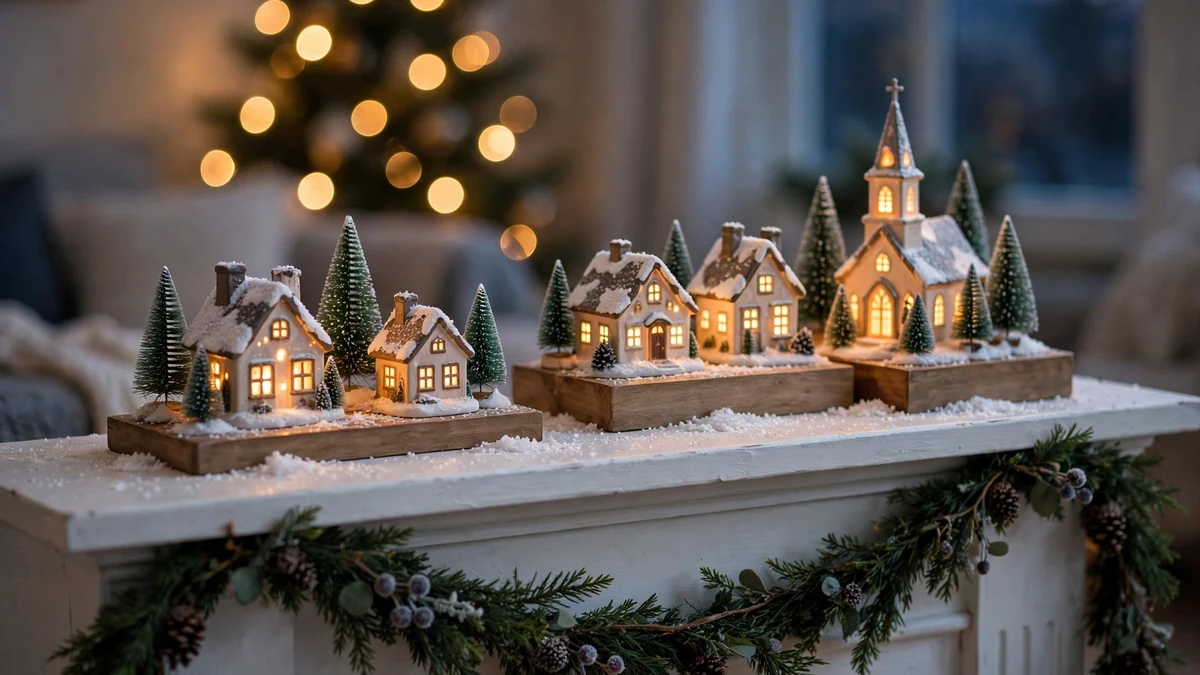
Build levels, not rows. Real towns climb. Put the back row of houses on risers — crates, books, or foam steps — so rooftops step up like a hillside. Purpose-made village display platforms and risers vanish under a snow blanket and save the fiddling.
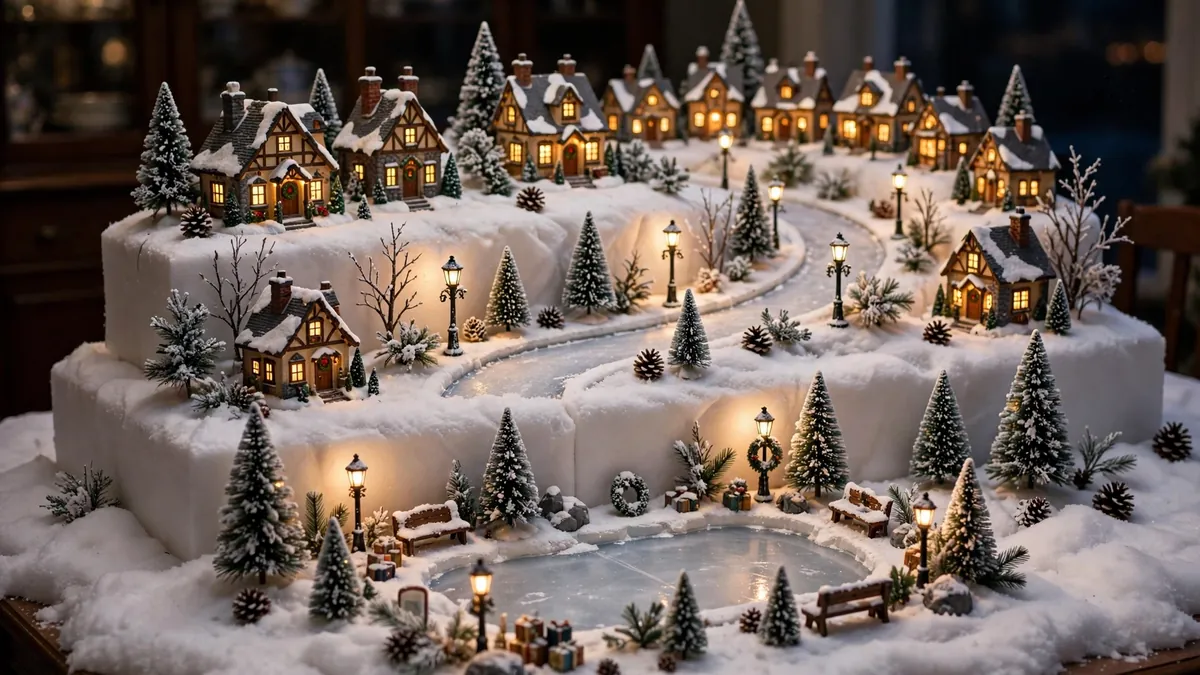
Group houses into mini scenes. Instead of spacing buildings evenly, cluster two or three around one shared moment: a bakery by a lamppost, a church beside a tiny tree lot. Leave a little “street” of empty snow between clusters. Collectors have long leaned on this trick — these Lemax village building tips make the same point about layers and storytelling.
Finish with snow and light. A roll of snow blanket under everything unifies mixed pieces, hides cords and makes drifts to tuck against walls. Light the houses first, then add one soft strand behind the back row for depth.
Disclosure: this post contains affiliate links. If you buy through them, Decor and Dish may earn a small commission at no extra cost to you.
On the Mantel (Ideas 1–5)
The mantel is the classic home for a christmas village because it is already at eye level and usually near an outlet.
1. The full-length classic. Run the village the whole length of the mantel over a snow blanket — tallest church in the centre, houses stepping down to each end, garland along the front edge.
2. The two-level mantel. Mantels are narrow, so steal height, not depth: a low riser at the back holds a second, smaller row behind the first. Two rows read as a town; one as a queue.
3. Church at the centre. Give the tallest, best-lit building the middle and build a little scene either side: shops left, houses right, a lamppost as the divider.
4. Mirror-back mantel. If a mirror hangs above the mantel, lean into it — the glass doubles every lit window at night, so keep the front row low.
5. Facades only. Shallow mantel? Use flat-front facades or your slimmest houses in one row, trees tucked between. No fireplace at all? Our christmas decor ideas without a fireplace applies the same eye-level thinking to the whole room.
On Tables and Sideboards (Ideas 6–11)
Tables give you depth a mantel cannot — room for streets, squares and a foreground.
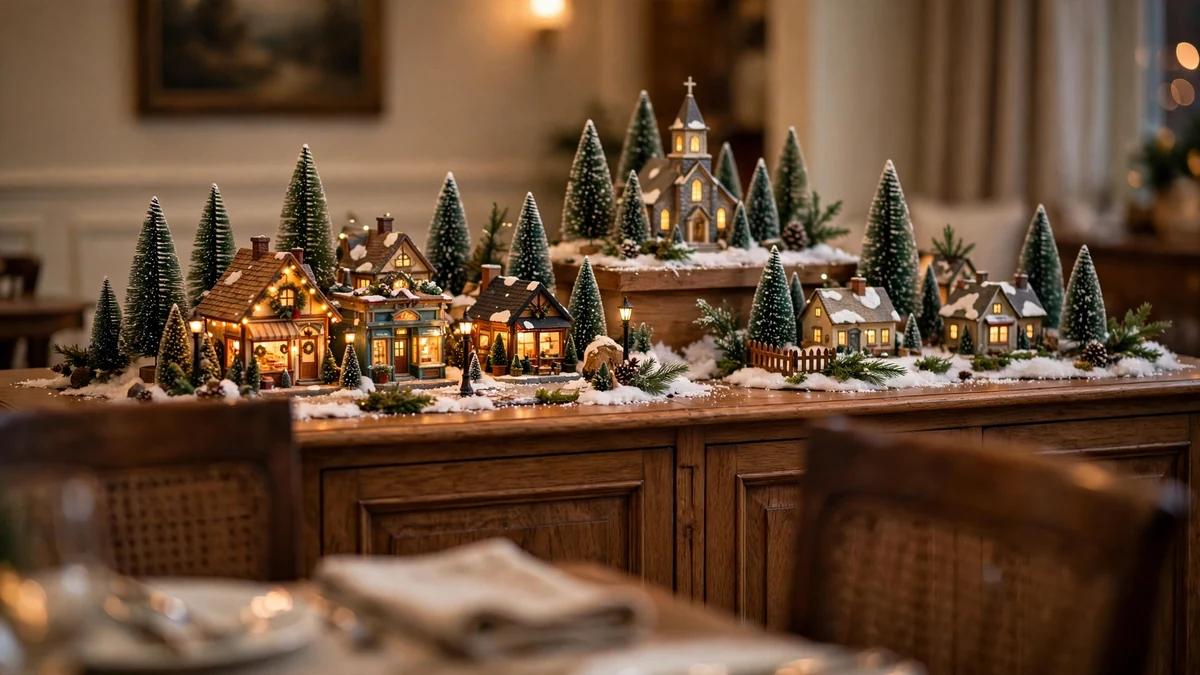
6. Dining table centrepiece village. Build long and low down the table’s middle — the layout logic behind our thanksgiving centerpiece ideas: guests see over it, and lit houses do the work of candles.
7. The market square. Leave one open patch of “snow” as a town square — a tree, two stalls, a knot of figurines — and arrange shops around it. A square gives the display its centre of gravity.
8. Sideboard main street. A long sideboard takes a full street: shops in a gentle curve, houses at each end, street lamps along the front marking the road.

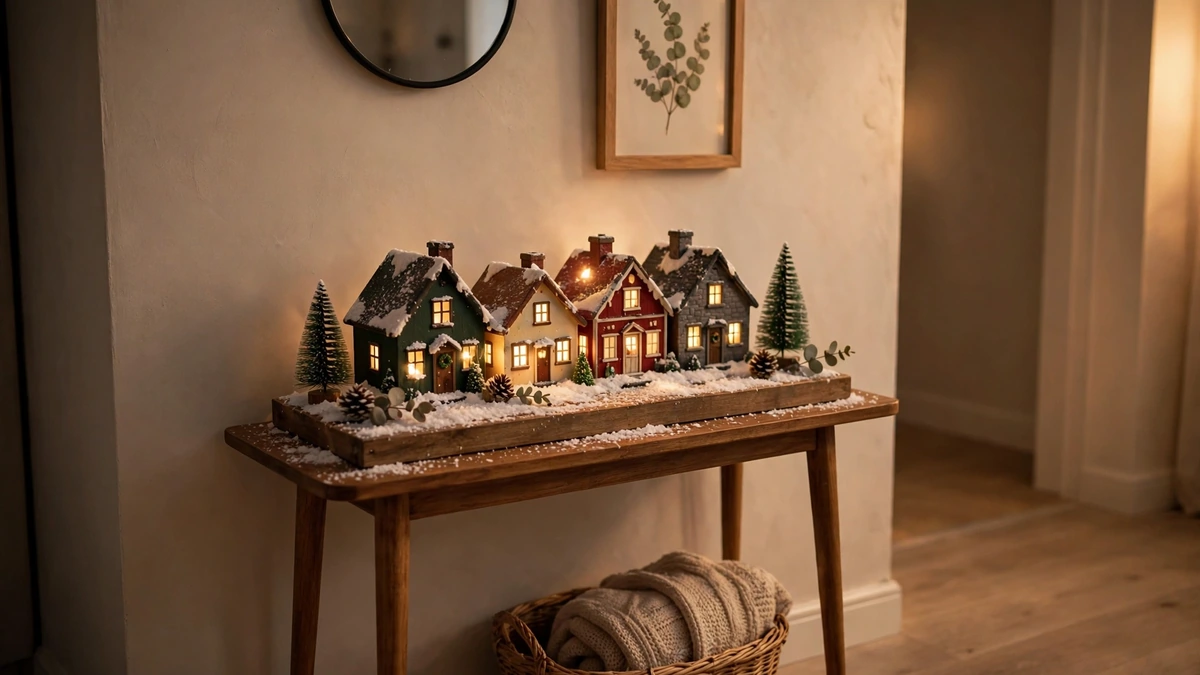
9. Console table scene. A narrow entry console fits one scene of three or four houses on a tray — the whole idea in a square foot, and the first thing guests see.
10. The tiered tray village. A two-tier tray is a ready-made riser: smallest houses and trees on top, two larger pieces below, snow over both. Our christmas tiered tray decor ideas uses the same tray as a village base.
11. Coffee table village. Build inside a low tray or shallow box, so the display lifts away in one move when the table is needed.
On Shelves and in Bookcases (Ideas 12–16)
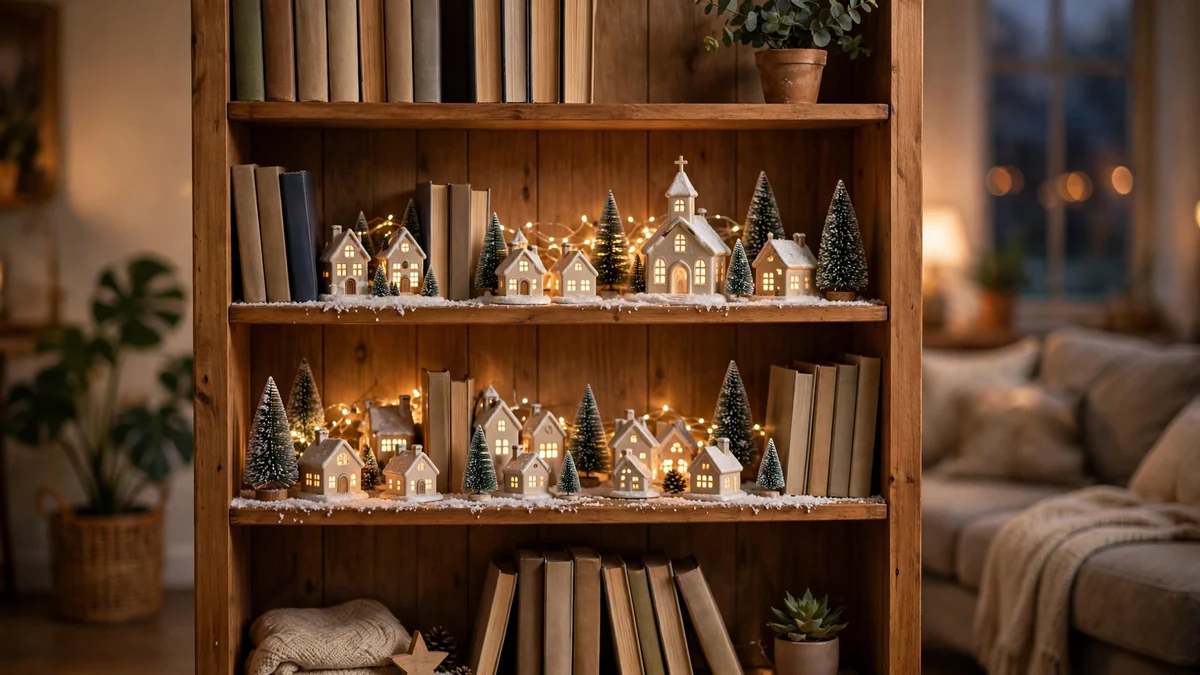
12. The bookshelf village. Clear one shelf, line it with snow blanket, and run five or six houses along it, books standing at both ends like bookend streets. Fairy lights behind them hide the panel.
13. Floating shelf mini row. Three houses, two miniature bottle brush trees, one strand of lights: a floating shelf holds a complete scene if every piece stays small.
14. Cubby villages. A cube unit gives you four to six tiny dioramas — one scene per cube: the church cube, the bakery cube, the skating cube. The most charming use of storage furniture we know.
15. Behind glass. A hutch or china cabinet keeps fragile pieces dust-free, safe from small hands and cats, and turns each shelf into a framed scene — the natural home for heirloom pieces from classic lines like Department 56.
16. The ladder shelf. A leaning ladder shelf has built-in levels — wide bottom shelf for the town square, narrower shelves above with a house or two each, like streets climbing a hill.
On the Windowsill (Ideas 17–20)
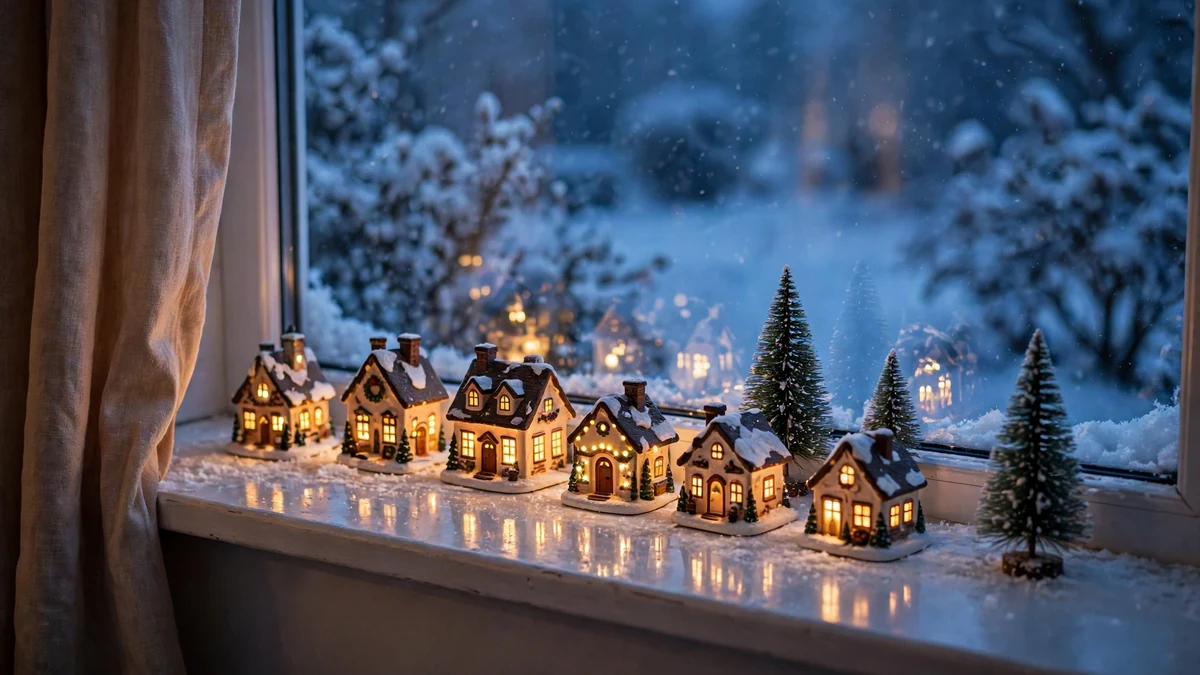
17. The classic sill row. A wide sill fits a single row of small houses, and at dusk the real sky becomes your backdrop. From outside, the lit windows look twice as festive.
18. Bay window town. A bay gives you an angled, three-sided stage — the one sill that can hold a proper scene with a foreground, not just a row.
19. Kitchen sink window. Two or three tiny houses on the sill above the sink, where you will look at them twenty times a day. Keep them small and clear of splashes.
20. Battery houses for outlet-free sills. No socket nearby? Battery-operated LED village houses on a timer come on at dusk and off at bedtime by themselves.
Under the Tree (Ideas 21–25)
21. The village ring. Circle the tree base with houses on a snow blanket over the skirt, fronts out — the oldest display of all, and still the coziest.

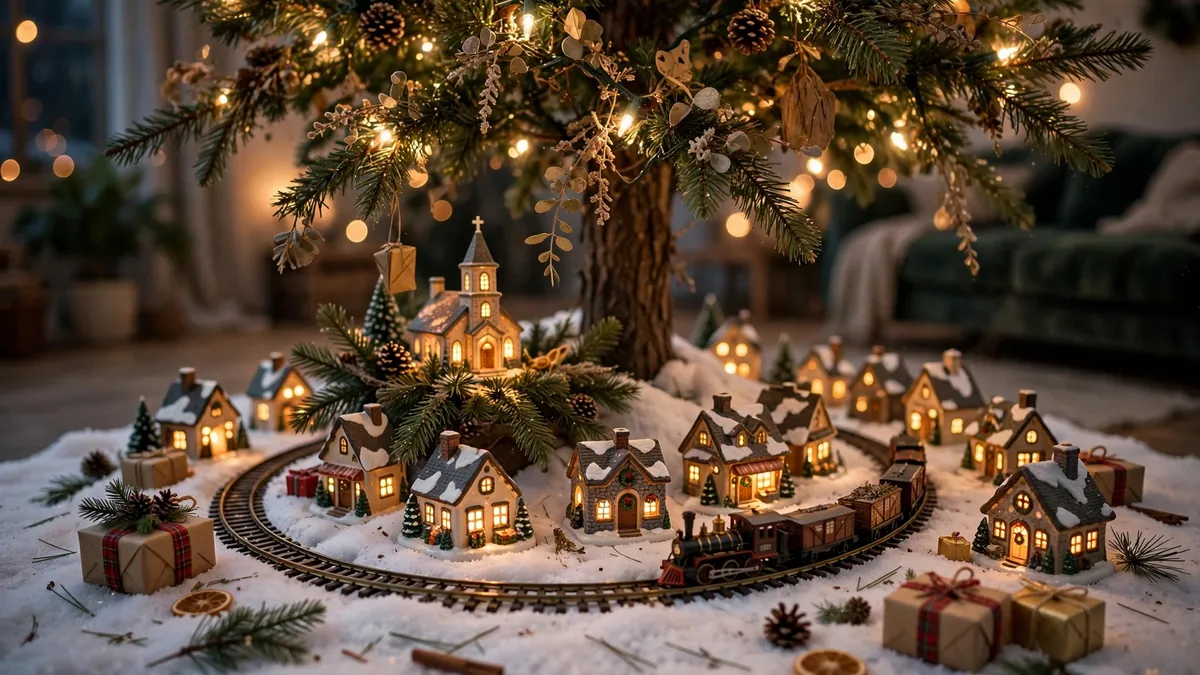
22. Train track village. Lay a loop of track around the tree and build the village inside and outside it, with one crossing where the “road” meets the rails.
23. The raised platform. A low platform under the skirt lifts the village two inches, so it stops disappearing under low branches and cords stay tidy underneath.
24. Houses among the gifts. Tuck three or four houses between wrapped presents so the village peeks from the gift pile — sturdy resin only, not fragile porcelain.
25. The spill-out village. Start under the tree and let one street spill onto a low board beside it. Big collections need the overflow, and the step down looks deliberate.
One safety note: keep houses and blankets clear of hot bulbs, and never leave lit displays unattended — the NFPA’s winter holiday safety tips cover the basics in one page.
How to Set Up a Christmas Village Display, Step by Step
- Choose the surface and measure it; a bookcase shelf of about 90 centimetres comfortably holds five to seven houses with breathing room.
- Build the terrain first: lay the cotton batting or snow blanket, then set books or boxes underneath at the back to raise the rear row by 8 to 15 centimetres.
- Place the largest buildings at the back corners and the tallest piece at the visual centre; smaller cottages fill the front row.
- Run the wiring before the figures go in: one power strip with a timer behind the display, cords tucked under the batting.
- Add trees in odd-numbered clusters and the figures last, facing slightly inward so the scene reads as one moment.
- Tear extra batting into drifts against the house bases to hide every join, then view the display once from across the room and adjust the tallest piece.
My six bookcase houses have become the first thing guests ask about, and the last thing I pack away in January. Build yours slowly — one house a year if you like. A village with a history always looks better than one bought in a weekend.
Christmas Village Display Ideas: FAQs
Where is the best place to display a Christmas village?
On a flat, eye-level surface near an outlet — a mantel, sideboard, bookshelf or wide windowsill. Eye level matters more than size: pick the spot you walk past most.
How do you make a Christmas village look realistic?
Use levels, not rows: raise the back houses on risers, group buildings into mini scenes with “street” gaps between them, cover each base with snow blanket, and keep lighting warm white.
How do you add snow and lighting to a display?
Lay snow blanket over the base first, tucking it against walls for drifts, then sprinkle artificial snow on roofs. Light the houses’ own bulbs first, then run one warm fairy-light strand behind the back row, cords hidden under the snow.
What scale are Christmas village houses?
Villages like Department 56 and Lemax follow a loose “village scale” rather than a strict ratio — buildings are typically 5–10 inches tall, sized so a church towers over cottages, and figurines are made slightly larger on purpose. Stay within one brand family per scene and sizes will look right.
How do you display a Christmas village in a small space?
Think scenes, not towns. Three to five houses on a tray, a windowsill or one shelf gives the full effect in under two square feet. Battery houses remove the outlet problem, and one colour palette keeps it calm.
The Bottom Line
The best christmas village display ideas are not about owning more houses — they are about placing the ones you have at different heights, in little scenes, under snow and warm light. Start with the surface you have, build one scene at a time, and add a street next year. That is how every great village starts, including ours at Decor and Dish.