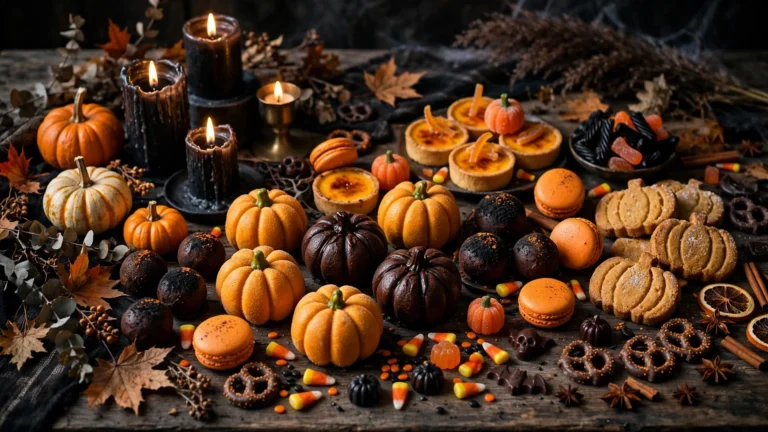
Some Halloween treats look impressive and turn out to be simple. These spooky Halloween cookies are exactly that: familiar doughs, dressed up with icing, sprinkles, candy eyes, and a little imagination. Nothing here needs to be perfect to look right — a slightly crooked ghost or a messy mummy only adds to the charm.
This collection works for a Halloween party dessert table, a school gathering, a family baking afternoon, or a quiet night of baking at home. Some ideas are quick enough for a weeknight, others suit a slow afternoon when decorating is half the fun.
I bake these in small batches and let the decorating table do the work: a few bowls of icing, a tray of cooled cookies, and a pile of sprinkles. The cookies never come out looking the same twice, and that is the point — Halloween baking should feel relaxed and a little messy.
How to use this collection: this post is a menu-planning roundup. Each cookie is described so you can plan your baking and choose what to make; where a specific source is recommended, its full step-by-step recipe is linked in that section. This post gives decorating ideas, not full recipes with quantities and timings.
Why Make These Halloween Cookies?
Halloween cookies earn their place because they do more than one job: dessert, party decoration, dessert-table centerpiece, gift-box filler, or baking activity. One basic dough can become several different spooky cookies just by changing the cutter and the decoration.
There is plenty of variety here, too. Some ideas are quick and beginner-friendly, others suit a slower afternoon of decorating, and classic sugar, chocolate, peanut butter, and soft pumpkin-spiced cookies all have a place in the same collection.
For decorating inspiration, King Arthur Baking’s cookie decorating guide explains glazing, frosting, royal icing, and decorating with sugar and sprinkles.
1. Classic Halloween Sugar Cookies
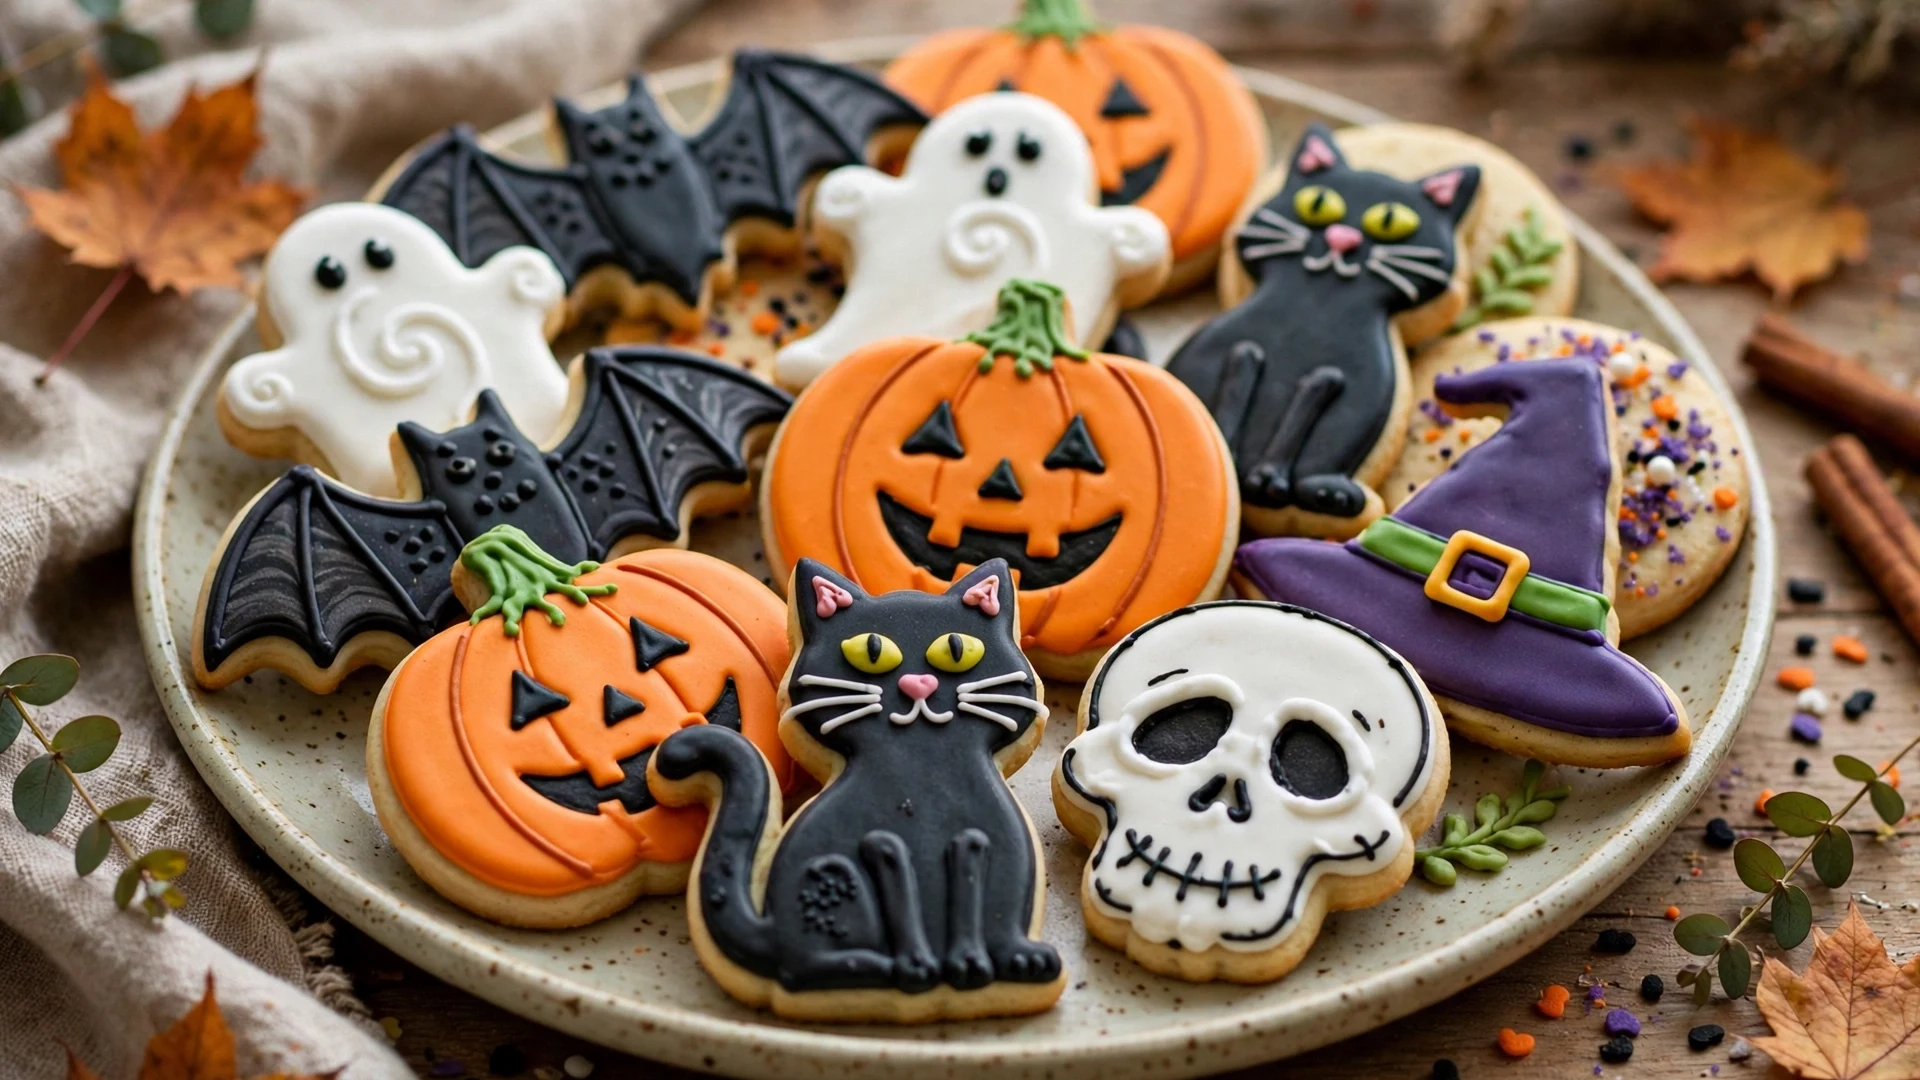
Classic sugar cookies are one of the easiest places to start. Use your favorite roll-out sugar cookie dough and Halloween cutters to make pumpkins, ghosts, bats, cats, skulls, and witch hats. Bake following the dough directions and cool completely before decorating.
Once cooled, decorate with orange, black, purple, white, or green icing, plus tiny candy eyes, Halloween sprinkles, or sanding sugar for texture. One batch of dough becomes many different shapes, and they look beautiful arranged together on a large platter.
Chill the dough before rolling so the shapes hold their edges, and let the cookies cool completely before decorating, or the icing will melt.
2. Spooky Chocolate Halloween Cookies
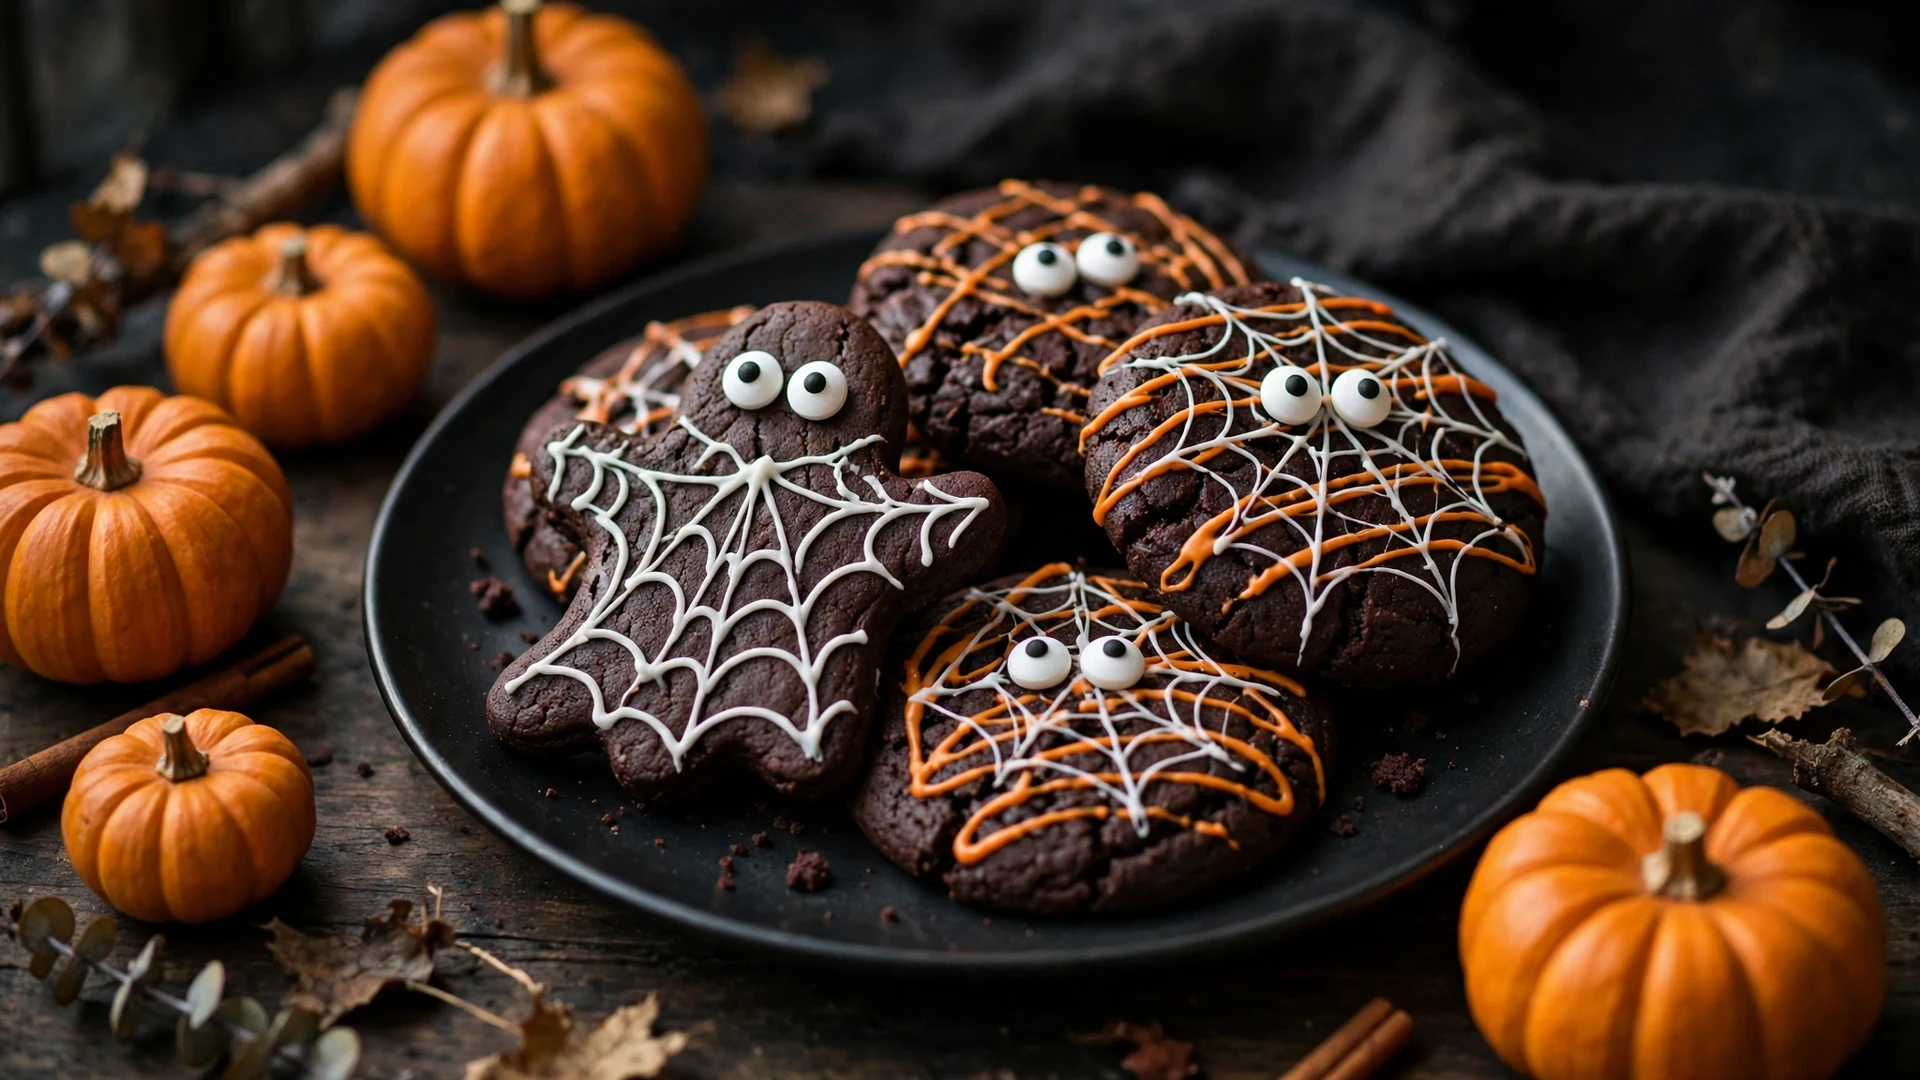
Chocolate dough naturally looks spooky, especially paired with bright orange or purple icing. Try round chocolate cookies with white icing spiderwebs, or pumpkin-shaped cutters with orange icing and chocolate details.
For a dramatic dessert table, black cocoa cookies make a deep, dark color with a rich chocolate flavor. King Arthur Baking’s Black Cocoa Halloween Cookies recipe uses black cocoa and an orange glaze for a striking look — and it gives the full quantities, temperature, and timing for that version, which this roundup does not.
3. Cute Ghost Cookies
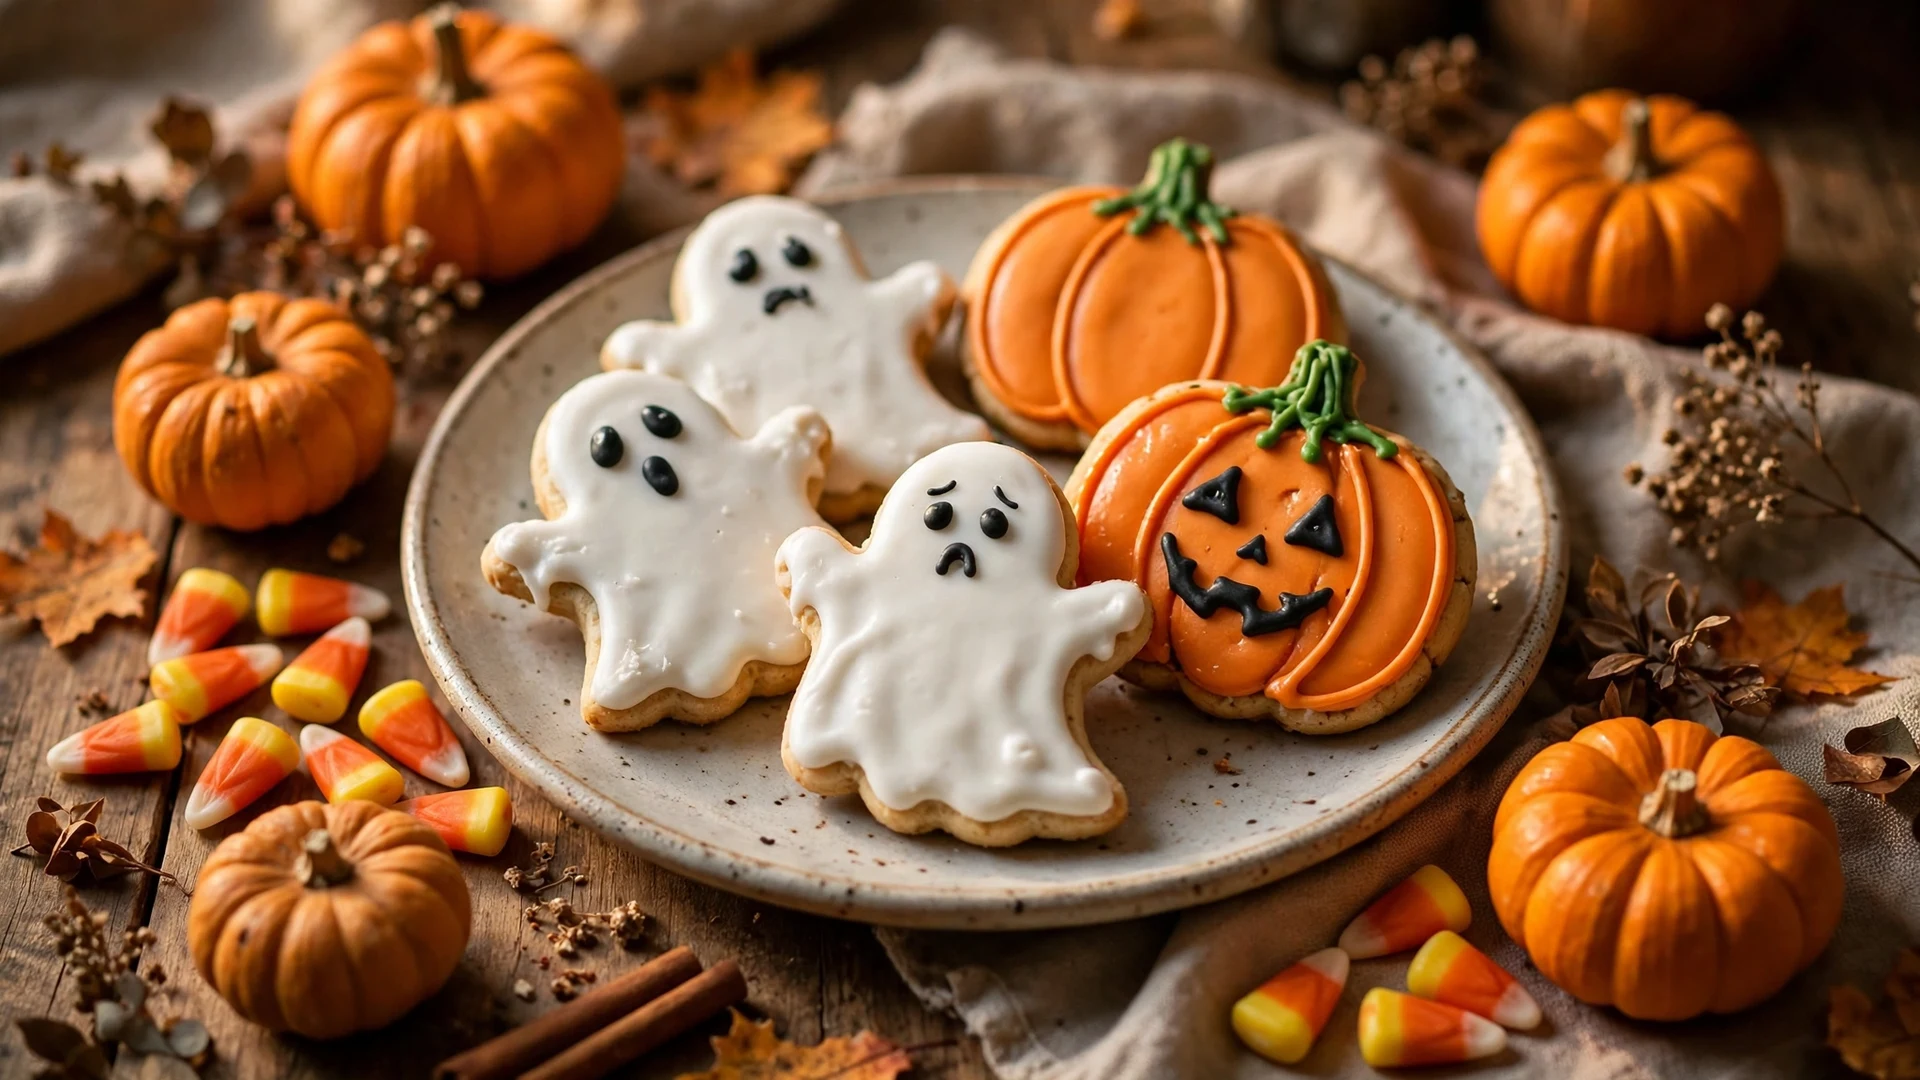
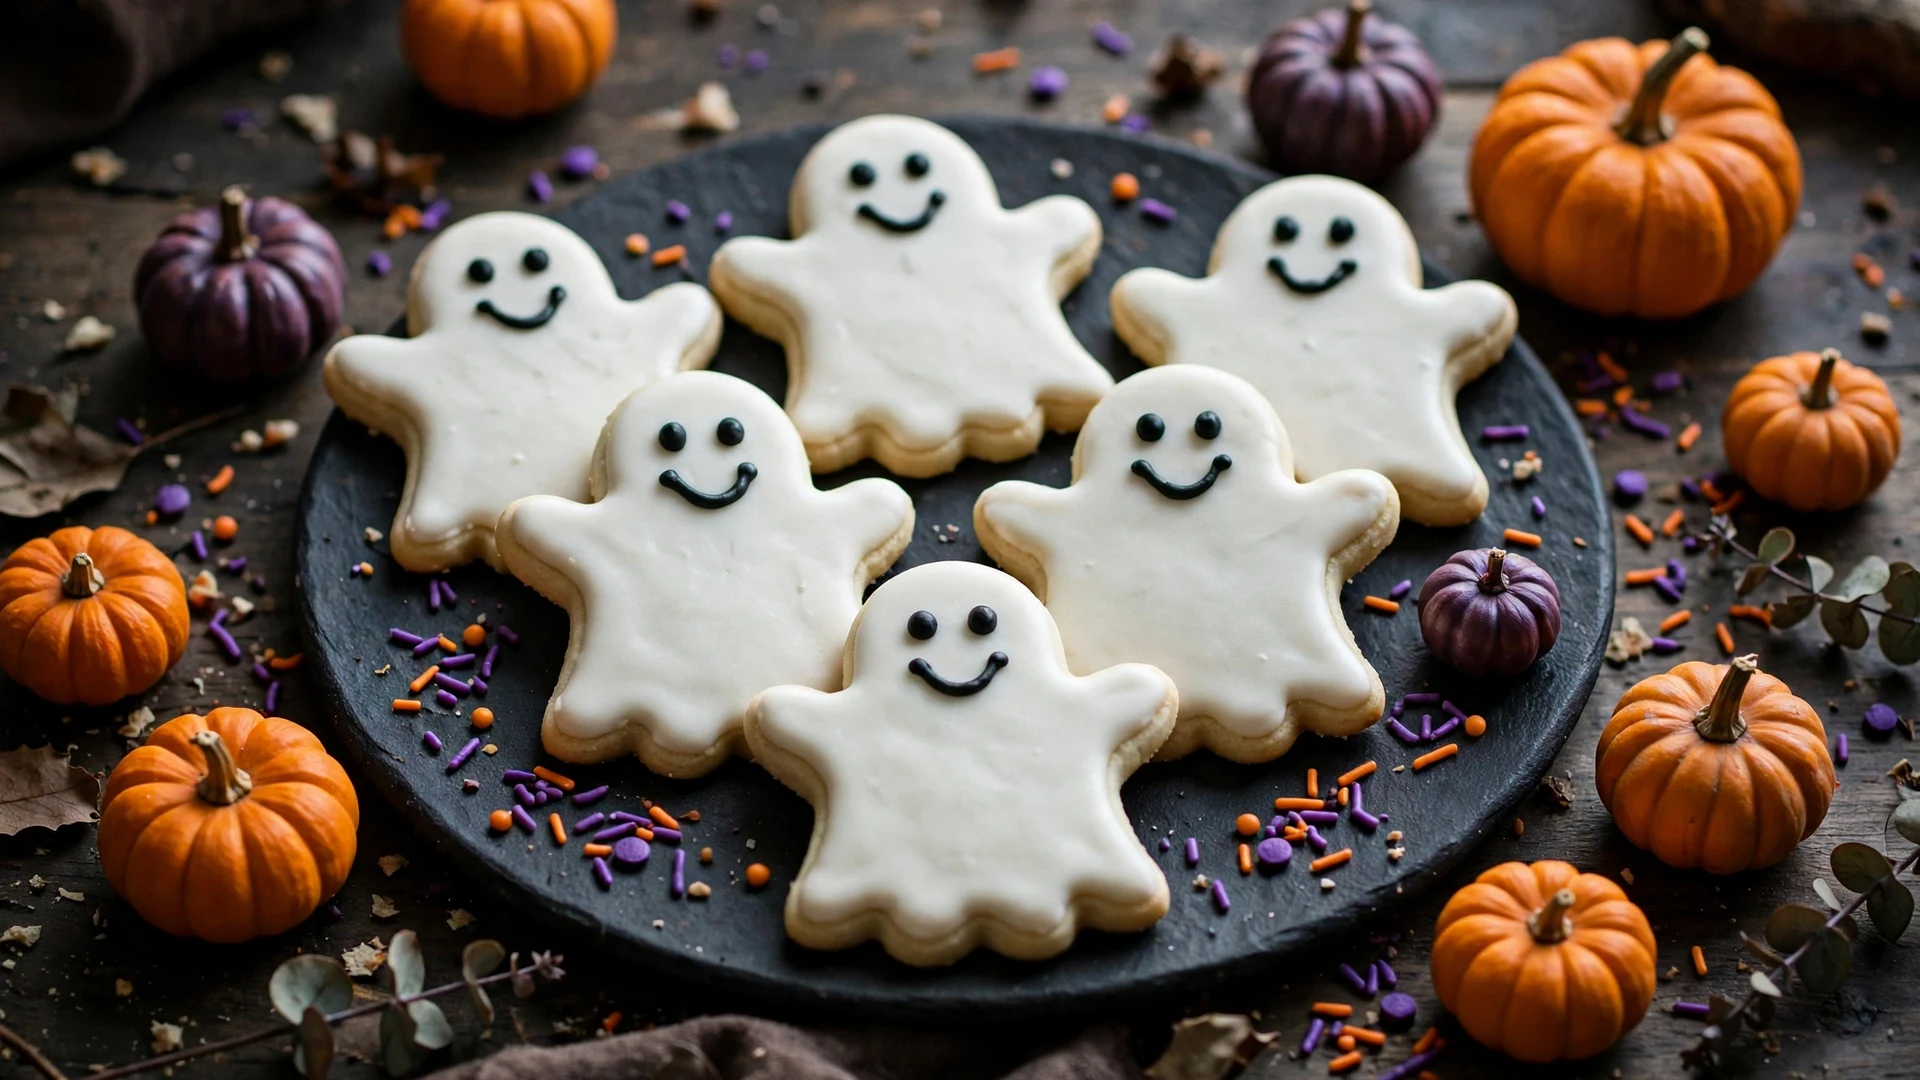
Not every Halloween dessert needs to be scary. Ghost cookies are one of the cutest ideas here, especially for younger guests or a family Halloween party.
Use a ghost-shaped cutter, or cut simple ghost silhouettes from sugar cookie dough. After baking, cover each cookie with white icing, then add two small black eyes and a tiny mouth with black icing or edible decorations.
Give each ghost a different expression — surprised, happy, sleepy — and arrange them on a dark plate with purple or orange sprinkles. They are also easy to package individually in small food-safe bags for party favors.
4. Pumpkin Spice Halloween Cookies
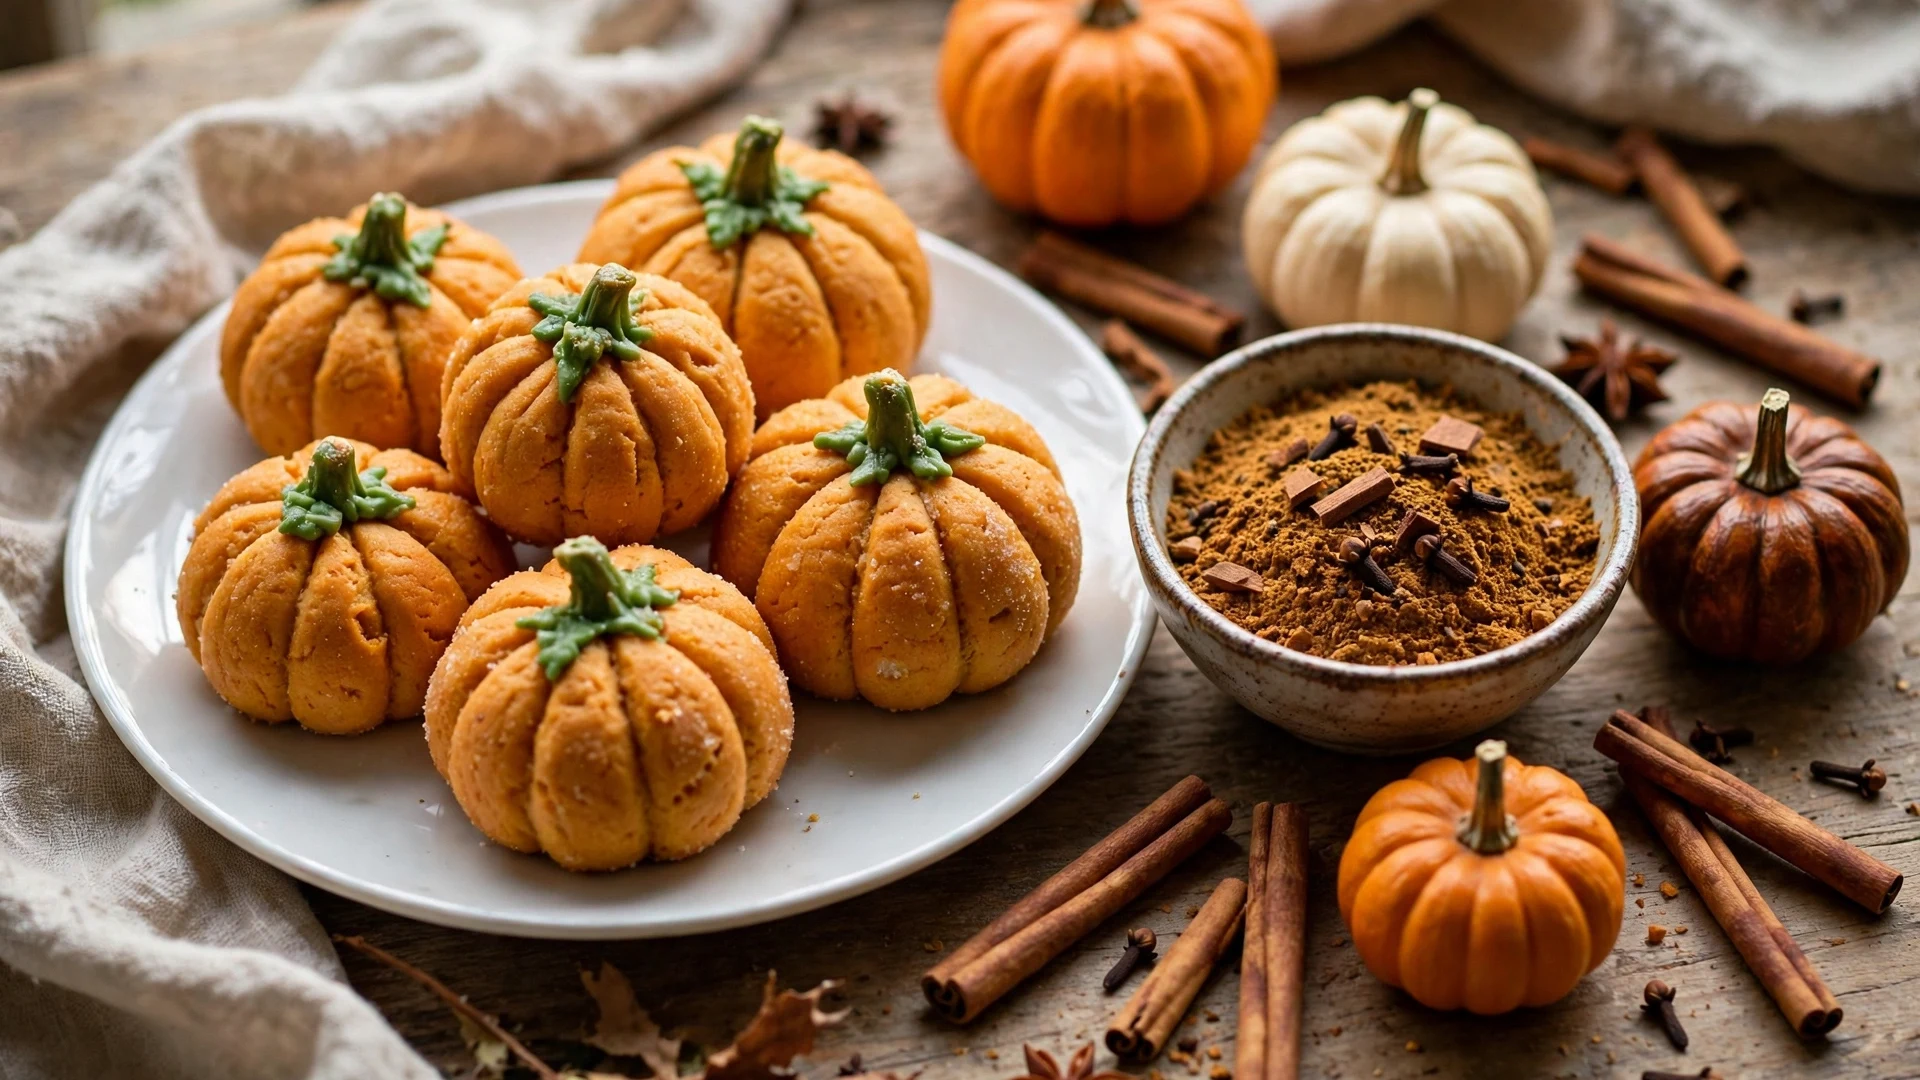
Pumpkin and Halloween naturally belong together, and pumpkin spice cookies are a warm addition to this collection. These cookies carry warm flavors such as cinnamon, nutmeg, ginger, and pumpkin. Keep the design simple: orange icing with a few green details for pumpkin stems.
A thin vanilla glaze and a light sprinkle of cinnamon finish them elegantly, and they are especially good with hot chocolate, warm milk, or apple cider.
For a softer cookie, a drop-cookie version of the same dough is even easier — no cutters, no rolling, just spoonfuls of dough baked following the recipe directions.
5. Halloween Spider Cookies
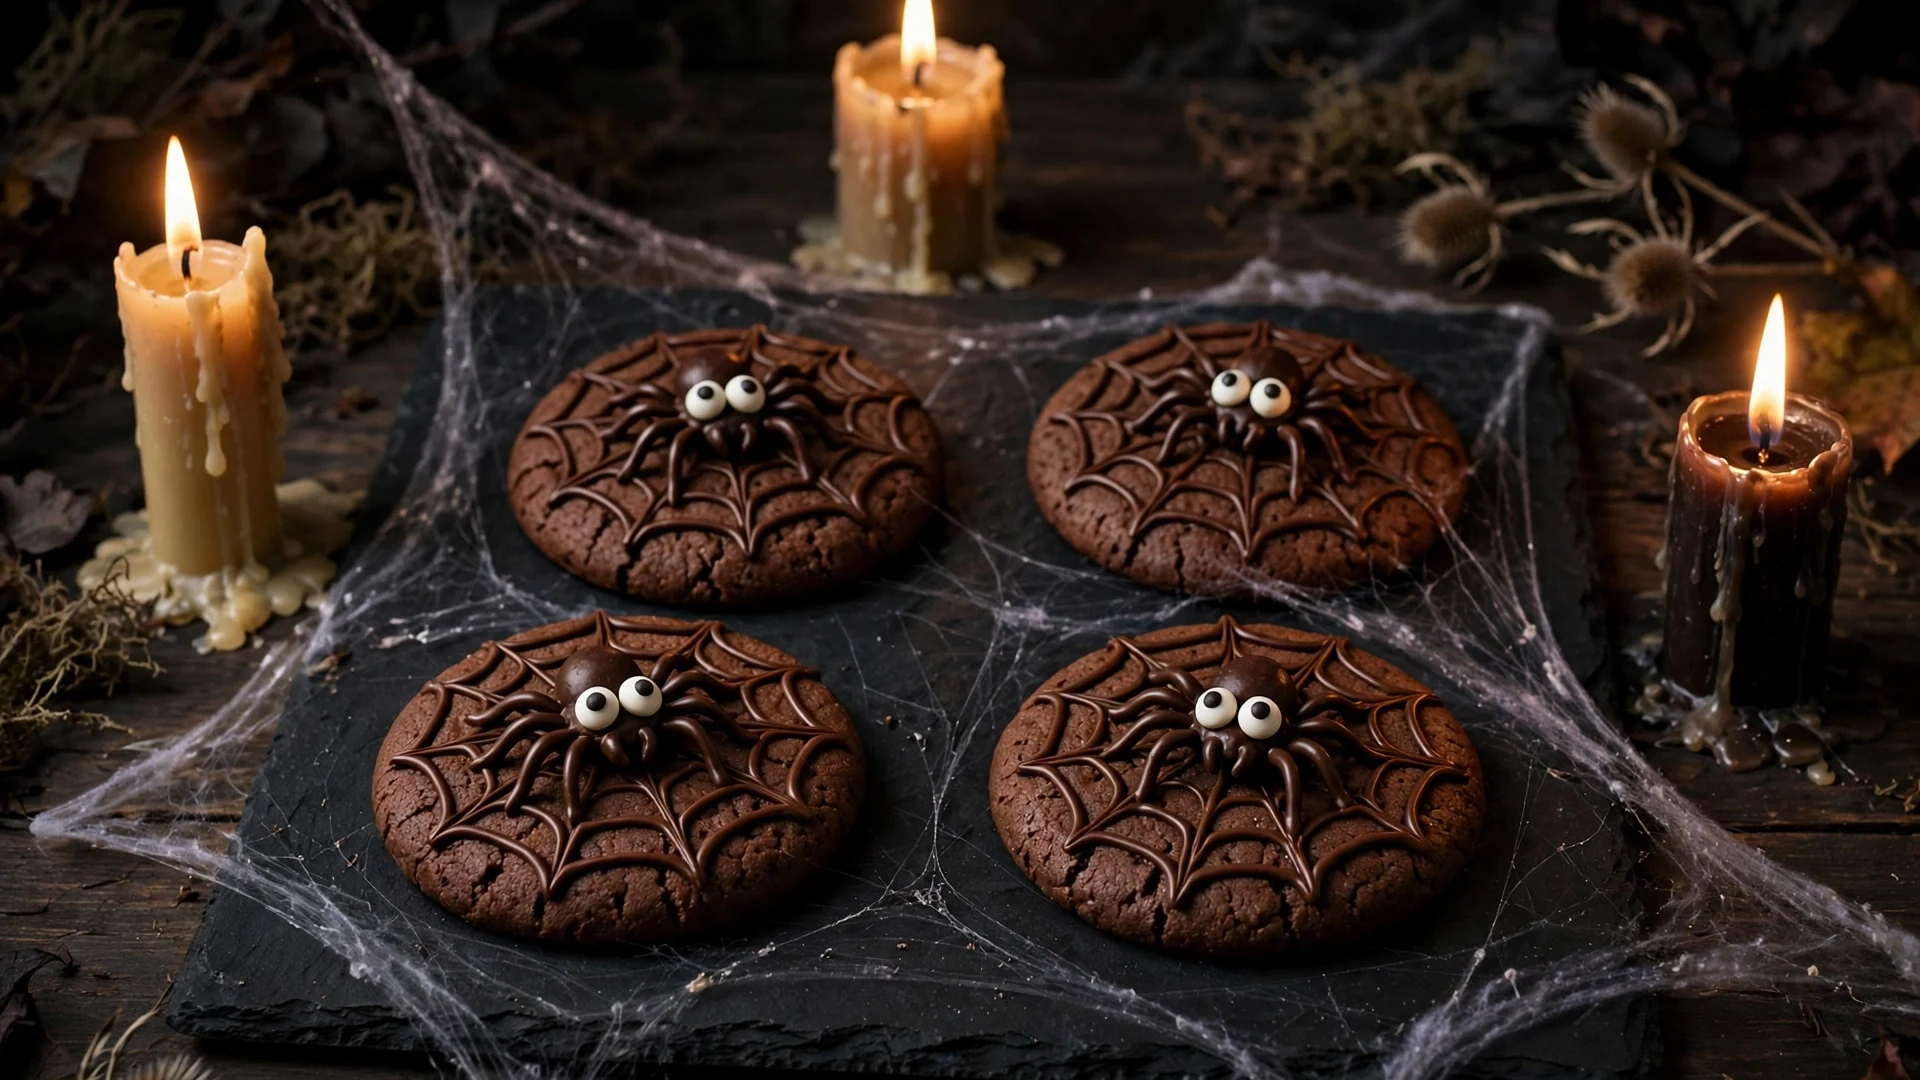
Spider cookies are perfect when you want a creepy-crawly theme without complicated cutting skills. Start with chocolate chip or chocolate cookies, then use melted chocolate or icing to create simple spider designs.
Place a round chocolate candy in the center of each cookie, pipe eight thin chocolate lines around it for legs, and add tiny candy eyes so the spider looks playful rather than frightening. You can also turn a whole batch into a spiderweb theme by piping white icing in circles and dragging a toothpick through it. The design is instantly recognizable, and the decorating becomes part of the entertainment.
6. Witch Hat Cookies
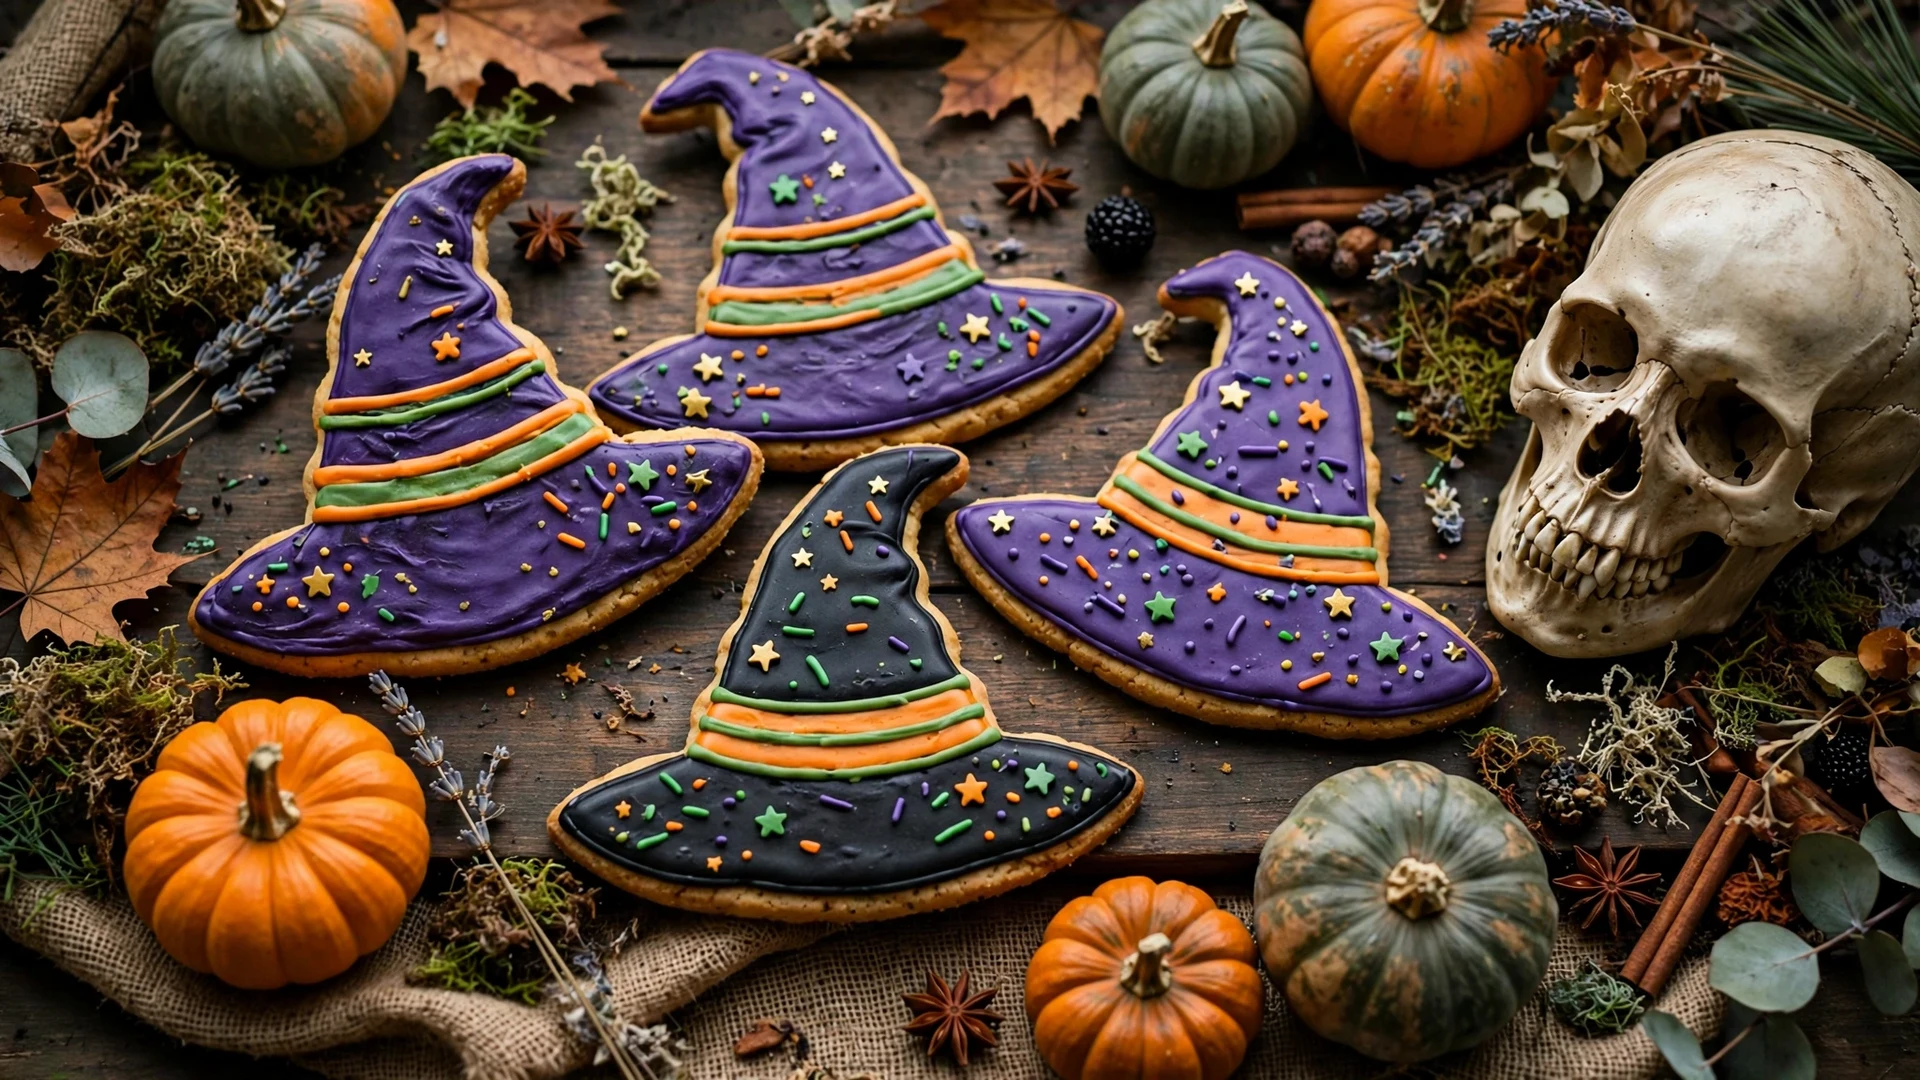
Witch hat cookies bring a magical feel to the dessert table. You can make them with a triangular or hat-shaped cutter, or use simple round cookies and decorate them to resemble witch hats.
Cover the cookies with purple or black icing, add a bright orange, green, or yellow band around the base, and finish with edible stars or sprinkles. For an easy version, use melted chocolate for the hat shape and decorate once it begins to set.
Witch hat cookies are also great for a Halloween baking party, because everyone can customize their own design.
7. Monster Eye Cookies
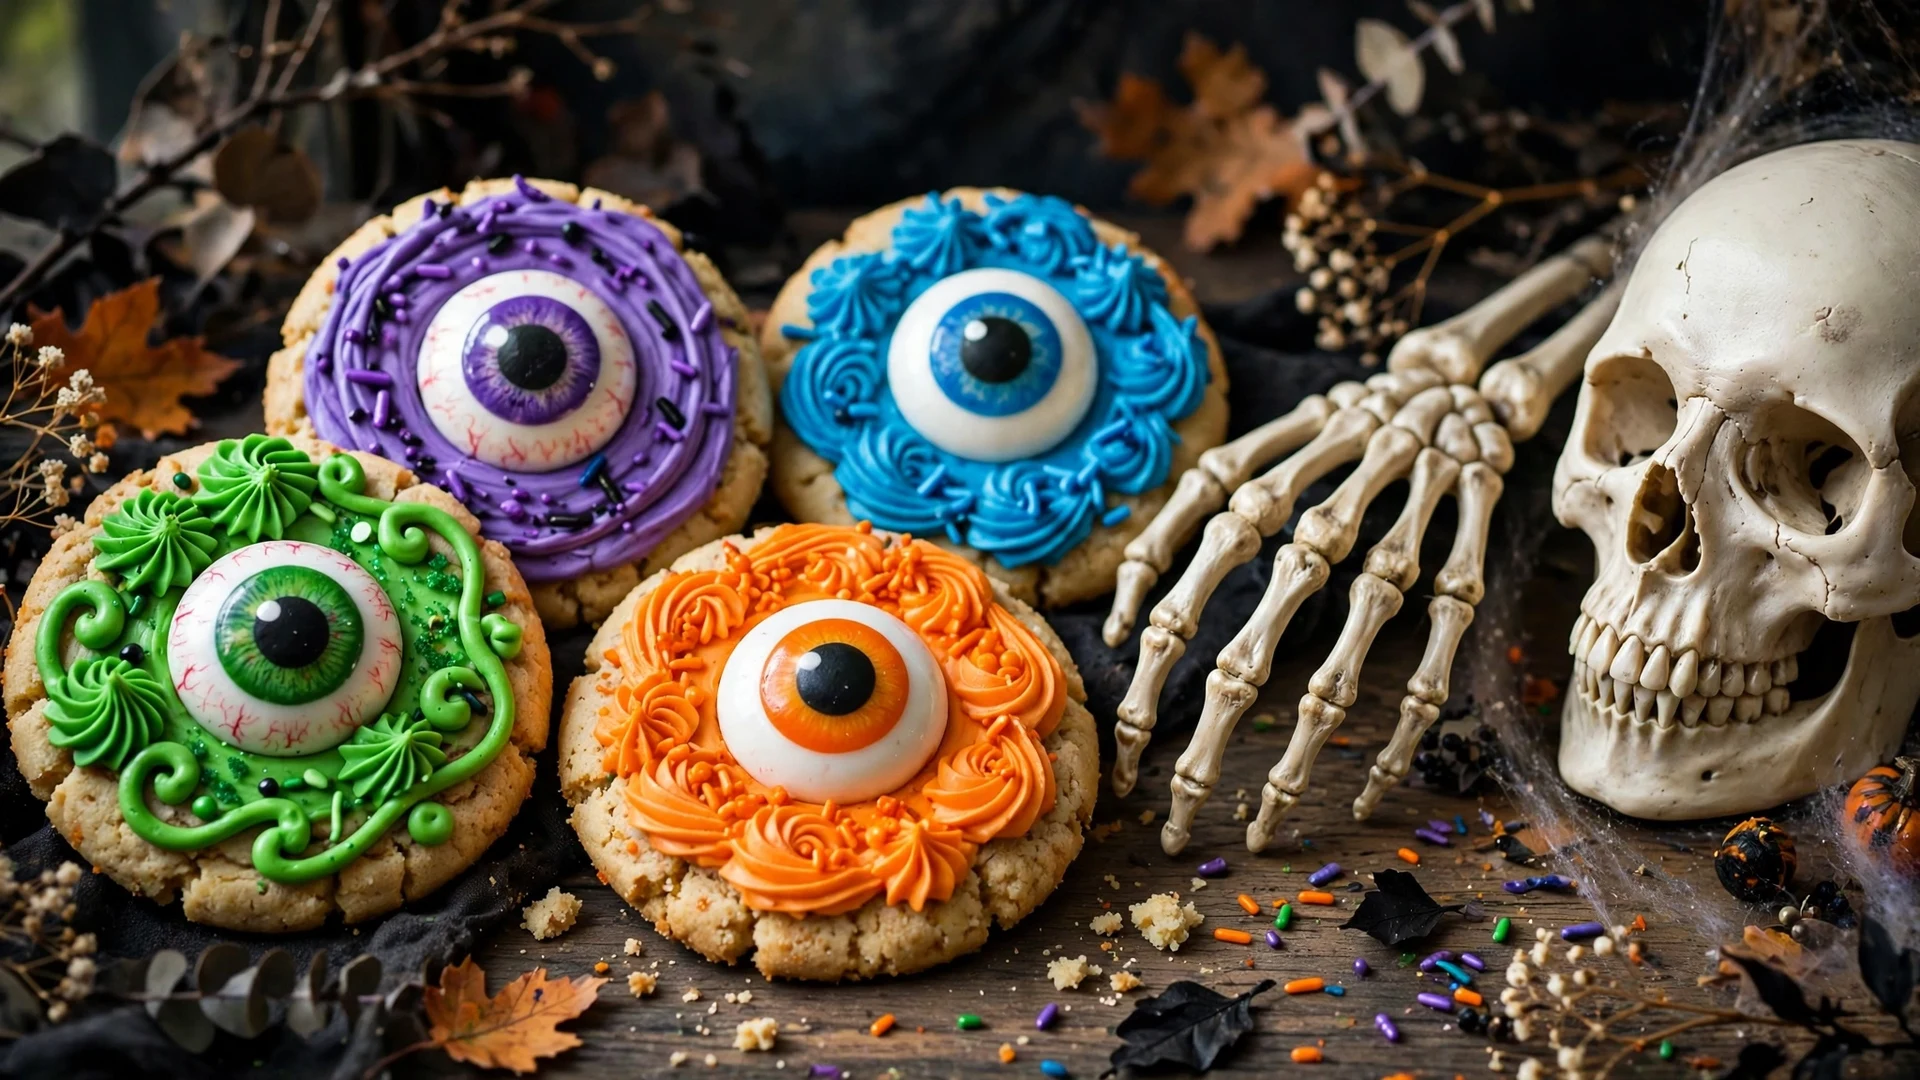
Monster eye cookies are among the easiest here to decorate. Almost any soft or chewy cookie works as the base, which makes this idea flexible and beginner-friendly.
After baking, spread colorful icing over each cookie and add one large candy eye in the center, or scatter several small eyes across the surface. Try green icing with white eyes, purple with sprinkles, or blue with chocolate chips — the less perfect the design, the more monster-like it becomes.
These cookies are perfect for kids’ Halloween parties, because decorating them is an activity as well as a dessert — set out bowls of icing and eyes and let everyone build their own monster.
8. Black and Orange Sprinkle Cookies
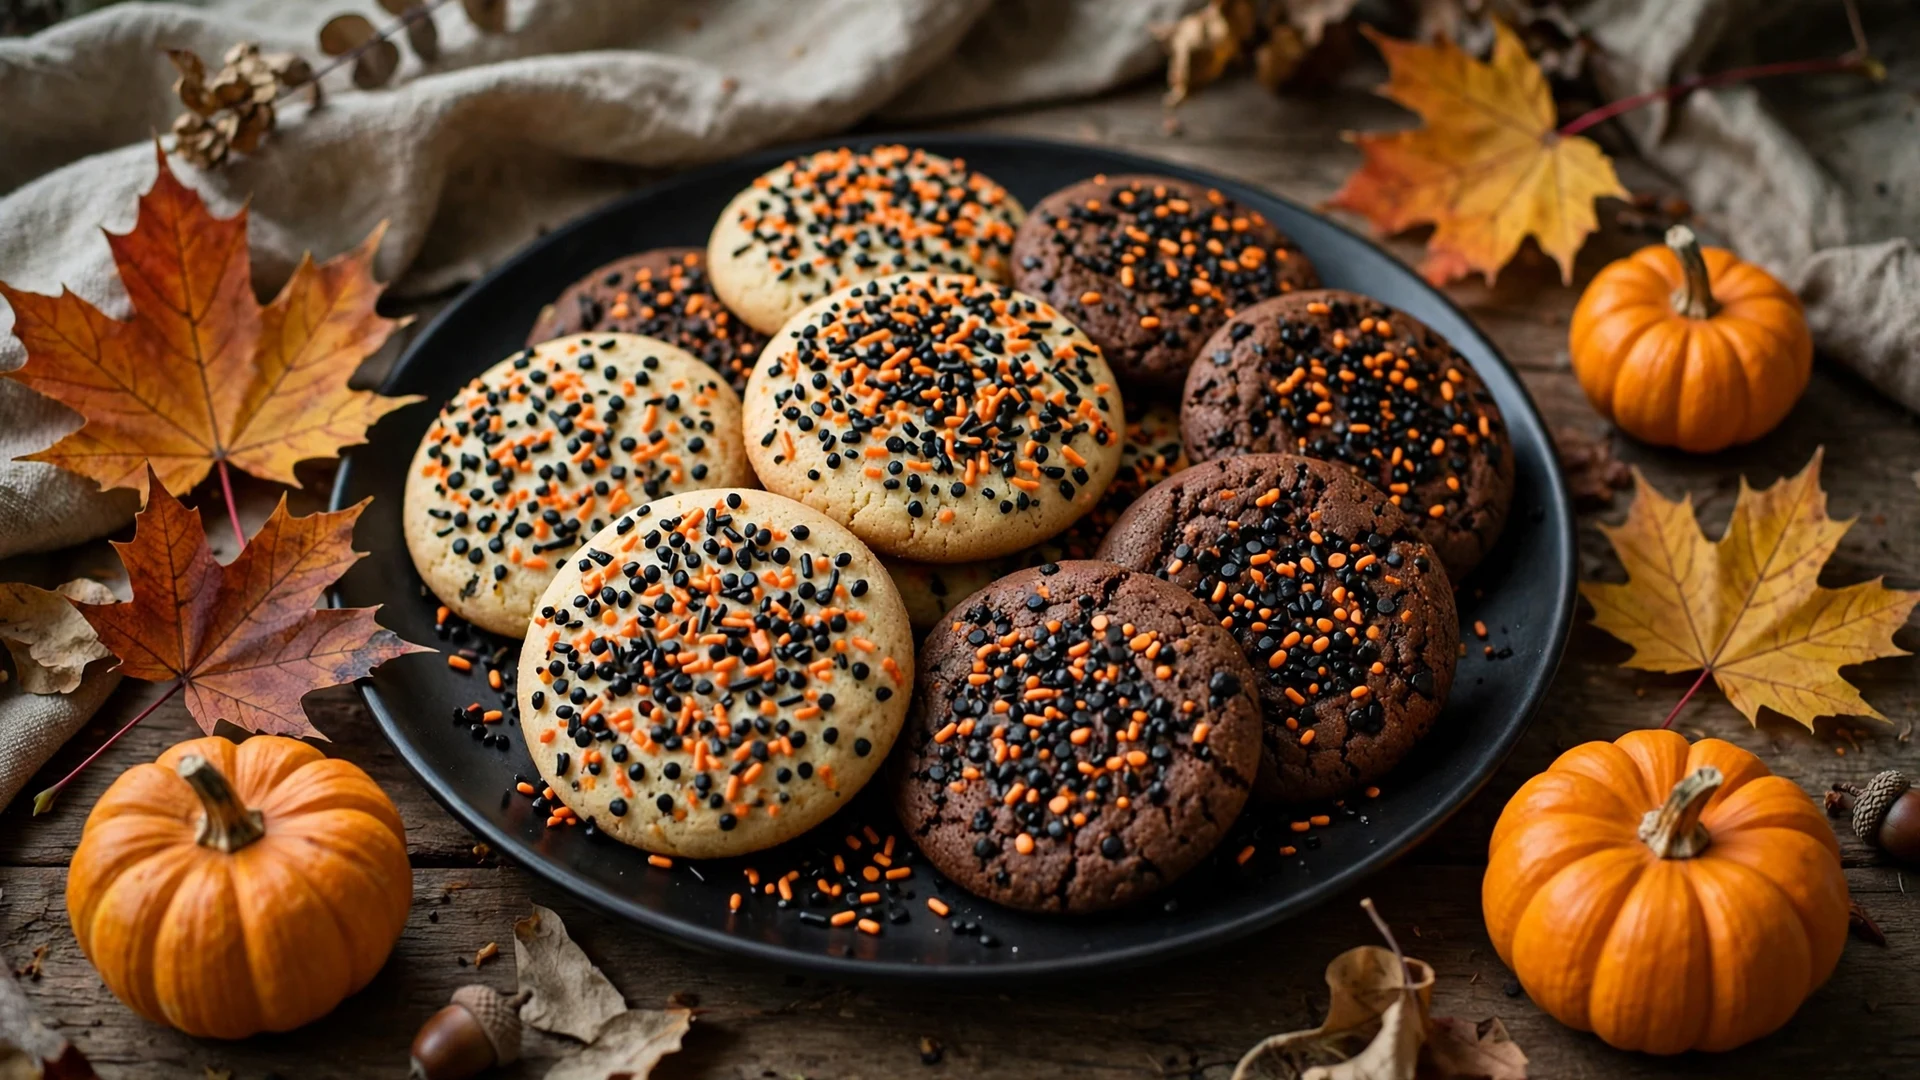
If you want an easy Halloween dessert without complicated piping, black and orange sprinkle cookies are the answer. These simple cookies become festive with just a few seasonal decorations, and the result is colorful, crunchy, and festive without any detailed decorating skills.
Prepare your favorite sugar or chocolate cookie dough, roll the dough balls in orange and black Halloween sprinkles before baking, and bake following the dough directions. Let the cookies cool before serving.
That makes these one of the easiest options here. Purple, green, white, and yellow sprinkles work too, for a colorful Halloween cookie platter.
9. Mummy Cookies
Mummy cookies are another creative option for the dessert table. Start with sugar or chocolate cookies and cover them with white icing.
Instead of a smooth layer, pipe thin white lines across each cookie in different directions, leaving two small spaces for candy eyes. The slightly messy look makes them more convincing — you do not need perfect piping, because the uneven lines give the mummy cookies their character.
10. Candy-Filled Halloween Cookies
For an extra-special Halloween treat, make cookies with candy pieces mixed into the dough. Chocolate candies, colorful candy-coated chocolates, or Halloween-themed pieces add both flavor and texture.
Use a simple chocolate chip cookie base, replace some of the chocolate chips with seasonal candy, and press a few extra pieces onto the tops immediately after baking, while the cookies are still warm.
These cookies are ideal for Halloween movie nights, parties, and casual gatherings, because they need much less decorating than detailed cut-out cookies — and they travel well, which makes them good for school gatherings and potlucks.
Tips for Making the Best Halloween Cookies
If you are making cut-out cookies, keep the dough chilled so the shapes stay easy to handle, and bake a few test cookies first if you are unsure about the baking time — ovens vary, and one test batch saves a whole tray.
Always let cookies cool completely before adding icing, or the frosting and decorations will spread or melt. A sturdy dough helps decorated cookies keep clean shapes, and dough made ahead can be refrigerated — King Arthur Baking notes baked cookies can also be stored before decorating.
How to Decorate Halloween Cookies Like a Pro
You do not need professional equipment: a piping bag, a few icing colors, sprinkles, and candy eyes are enough for most designs.
For clean designs, begin with an outline, fill the center with thinner icing, and let the first layer dry before adding details. Simple patterns — spiderwebs, stripes, dots, zigzags — create impressive results with very little practice. Another easy trick is a limited color palette: orange, black, white, purple, and green read as Halloween without looking busy. For more techniques, King Arthur Baking’s decorating tips covers outlining, flooding, marbling, and detailed icing designs.
Make-Ahead and Storage
Most of these cookies plan ahead easily, which is what makes them practical for a party.
- Dough: Prepare cut-out dough a day or two ahead, chilled and wrapped — it holds its shape better rolled and cut.
- Baked, undecorated cookies: Bake a day ahead, store fully cooled in an airtight container, and decorate on the day so the icing looks fresh.
- Decorated cookies: Let icing dry completely before stacking or packaging — royal icing can take several hours to set. Store in a single layer, or separate layers with parchment.
- Leftovers: Store most cookies in an airtight container according to the requirements of the specific recipe. Keep iced cookies away from humidity, which softens icing.
How to Serve Halloween Cookies
Arrange your cookies on a large platter, grouping similar designs together. Place colorful cookies around the outside and more detailed ones in the center, where they draw the eye. You can also package individual cookies as party favors in food-safe bags or containers, once decorated cookies have fully set.
Food Safety and Allergies
A dessert table with food sitting out for hours needs a little attention. FoodSafety.gov advises that perishable food should not sit at room temperature for more than 2 hours — only 1 hour above 90°F — because bacteria grow quickly between 40°F and 140°F. Most plain cookies keep well at room temperature, but anything with cream cheese frosting, custard, or a dairy filling counts as perishable — set out small batches, refill from the fridge, and refrigerate leftovers promptly. (FoodSafety.gov)
Allergies deserve the same planning as the menu. The FDA’s food allergy guidance identifies nine major food allergens, including milk, eggs, wheat, peanuts, tree nuts, soy, and sesame — and most cookies here contain at least three of them. Check labels carefully, keep ingredients and decorations separated, label each cookie with its main ingredients, and flag anything containing nuts. Ask guests about allergies before the party, not at the table.
For trick-or-treating, FARE’s Teal Pumpkin Project offers an idea worth borrowing for a party too: non-food treats alongside candy let kids with food allergies enjoy Halloween without fear, and a teal-painted pumpkin signals they are available. A small bowl of stickers, glow sticks, or small toys next to the candy table costs little and includes everyone. (FARE Teal Pumpkin Project)
Frequently Asked Questions
How do I decorate Halloween cookies?
Start with a plain sugar, chocolate, or store-bought cookie as the base — the Halloween look comes from the decorating. A round cutter, a few gel food colors, royal icing or melted chocolate, candy eyes, and sprinkles cover most designs: flood ghosts white and pipe black eyes, add orange icing and green stems for pumpkins. Let royal icing dry completely — several hours — before stacking or packaging.
Can I make Halloween cookies ahead of time?
Yes. Make the dough a day or two ahead and keep it chilled, bake a day ahead and store the cookies undecorated in an airtight container, then decorate on the day. Let royal icing dry completely — several hours — before stacking or packaging.
Can I use store-bought cookies for Halloween?
Yes. Store-bought sugar cookies, chocolate cookies, and plain cut-outs work well as the base — the Halloween look comes from the decorating. Mixing homemade and store-bought is the practical way most hosts do it.
How do I handle food allergies at a Halloween party?
Ask guests about allergies before the party, label each cookie with its main ingredients, and flag anything containing nuts. Keep at least one option free of the most common allergens, and consider non-food treats alongside candy, as FARE’s Teal Pumpkin Project suggests.
How long can Halloween cookies sit out?
Plain cookies keep well at room temperature in an airtight container, but anything with cream cheese frosting, custard, or a dairy filling is perishable and should not sit out for more than 2 hours, according to FoodSafety.gov. Serve in small batches and refrigerate leftovers promptly.
A Good Place to Stop
These spooky Halloween cookies prove that Halloween baking can be creative without being complicated. From sugar cookies and chocolate treats to ghosts, pumpkin spice, spiders, witch hats, monster eyes, mummies, and sprinkle cookies, there are plenty of ways to build a memorable dessert spread.
The key is to choose designs that match your skill level and have fun with the decorations — even a simple cookie becomes festive with the right colors, sprinkles, icing, and candy eyes. Pick your favorites, turn on your favorite Halloween playlist, and enjoy the baking.
For the rest of the party: Halloween party food ideas covers the savory table, Halloween dessert ideas adds more sweet options, and Halloween inspiration has decorating, DIY, and activity ideas for the whole season.