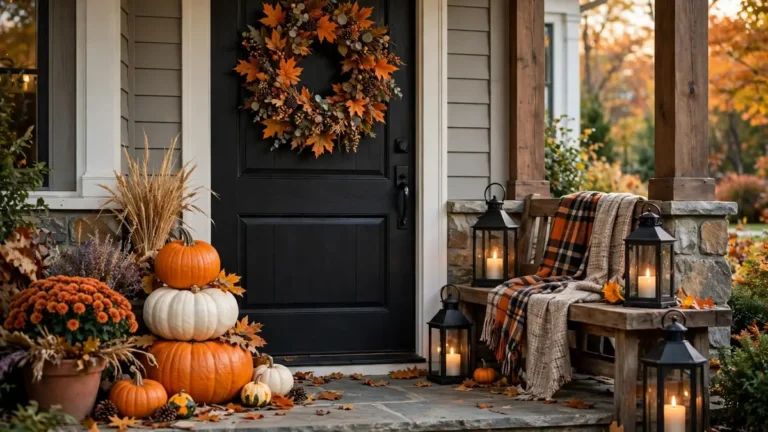
15 Painting Pumpkins Ideas DIY Girly That Feel Dreamy and Sweet
These painting pumpkins ideas DIY girly are my favorite way to do fall decorating without ever picking up a carving knife. You get all the cozy October magic, soft pink and pastel pumpkins, bows, glitter, and gingham, and none of the mess, and the finished pumpkins last straight through Thanksgiving. If you love a girly, pretty fall porch, this list is for you.
I first tried painting pumpkins ideas DIY girly style two Octobers ago, at a craft night with three friends, and I learned almost everything the hard way. I skipped the white base coat on my first pumpkin, and the pink paint went on streaky and dull over the orange skin. On the second one, I used painter’s tape for stripes but peeled it off while the paint was still wet, and the lines bled everywhere.
By the third pumpkin I had it figured out: two thin white base coats, fully dry between coats, tape pressed down firmly, and a light coat of clear sealer at the end. That third pumpkin, blush pink with a gold bow, sat on my porch for five weeks and still looked perfect at Thanksgiving. These painting pumpkins ideas DIY girly below use every one of those lessons, so yours turn out pretty on the first try.
Why You Will Love Painting Pumpkins the Girly Way
- No carving, no mess. No scooping, no seeds, no knives, and no pumpkin smell in your kitchen.
- They last for weeks. An uncarved painted pumpkin stays beautiful from early October right through Thanksgiving.
- Perfect for a craft night. Everyone can paint their own, no skill needed, and every pumpkin looks different.
- Totally your style. Pink, pastel, preppy, glittery, or soft and simple, you control every color.
Supplies for Painting Pumpkins Ideas DIY Girly
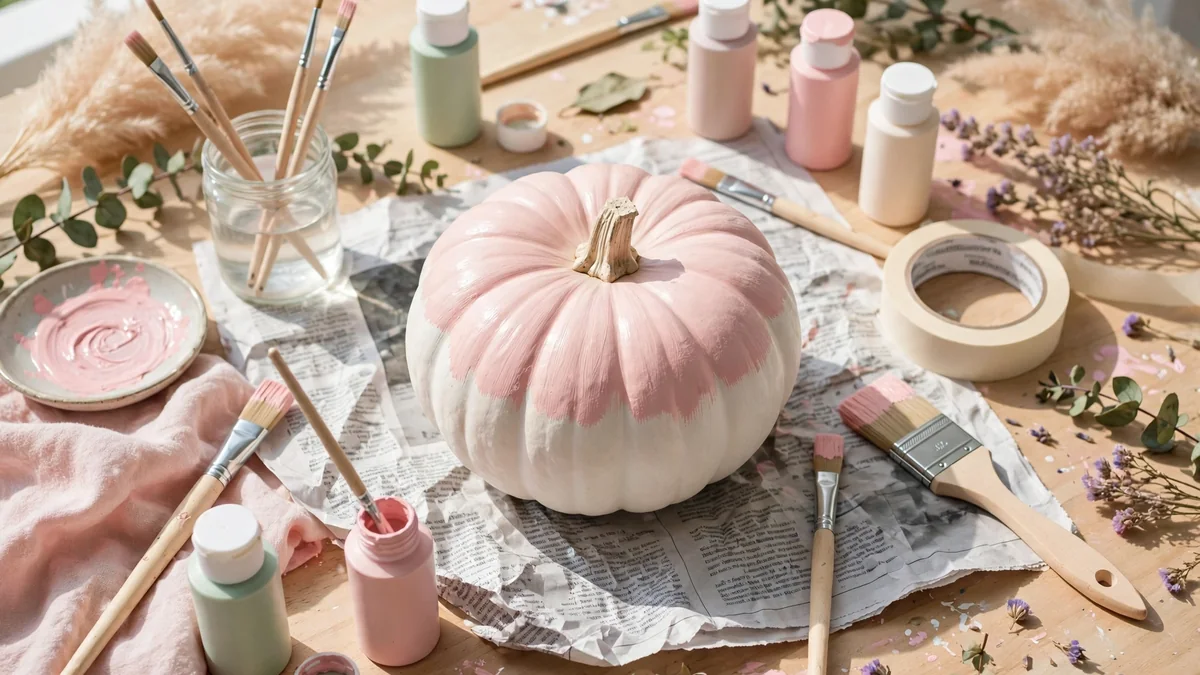
One of the best things about painting pumpkins ideas DIY girly is how little you need. Grab white and pastel acrylic craft paint, a few small flat brushes and one fine-tip brush for details, 1-inch and 2-inch painter’s tape, a black and a gold paint pen, clear acrylic sealer spray, and any extras you love: ribbon, faux flowers, pearls, or glitter. White pumpkins, real or faux, are the best canvas because pastel colors pop on them, but an orange pumpkin works too if you start with two coats of white base paint. As an Amazon Associate, I earn from qualifying purchases. See my disclosure at the end of this post.
How to Paint Pumpkins, Step by Step
Every design in this list follows the same six steps, so once you learn the method, you can make all fifteen. These painting pumpkins ideas DIY girly are beginner-friendly, and the whole process takes about an hour plus drying time.
Step 1: Wash and Dry Your Pumpkin
Wipe your pumpkin with a damp cloth and dry it completely, about 10 minutes. Paint will not stick to a dusty or damp pumpkin, and this one small step is the difference between a smooth finish and a peeling one.
Step 2: Paint Two Thin Base Coats
Paint your base color in thin, even coats with a flat brush. Let the first coat dry for 30 minutes, then add a second coat. Two thin coats always look better than one thick, gloopy coat, and white is the best base for pastel designs.
Step 3: Tape Off Your Pattern
For stripes, gingham, or plaid, press painter’s tape down firmly along the pumpkin’s natural ribs, and rub the edges with your fingernail so no paint sneaks underneath. Painter’s tape is the secret to crisp, clean lines.
Step 4: Paint Your Design
Paint your pattern with a small brush, using thin coats, and let each color dry for 20 to 30 minutes before adding the next one. For dots, the end of a pencil eraser or a glue-stick cap makes perfect circles without any skill at all.
Step 5: Add the Pretty Details
Once the paint is fully dry, add your details: a gold paint-pen outline, a ribbon bow hot-glued near the stem, faux flowers, or tiny pearl stickers. Details are what turn a painted pumpkin from simple to special.
Step 6: Seal It and Display It
Spray two light coats of clear acrylic sealer, 20 minutes apart, in a well-ventilated area, and let the pumpkin dry for 2 hours. Sealer keeps the paint bright through rain, porch humidity, and five weeks of display.
15 Painting Pumpkins Ideas DIY Girly
1. Pink Gingham Pumpkin
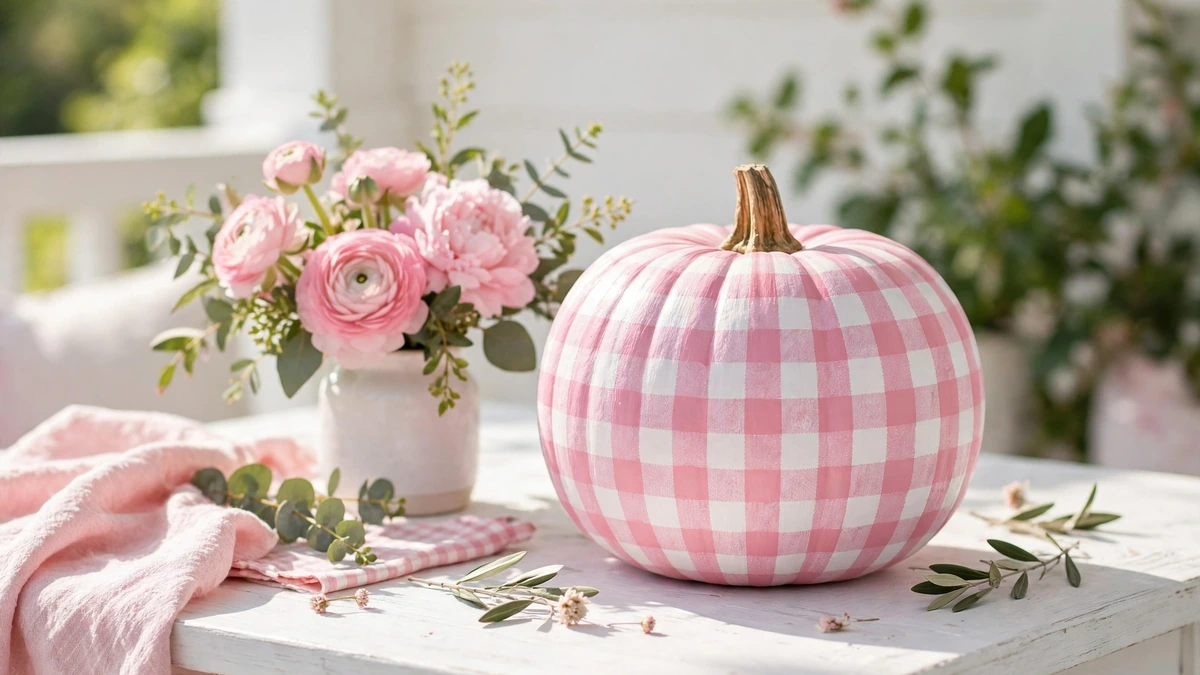
The classic preppy check, in pink and white. Start with a white base, tape off vertical stripes in two shades of pink, let them dry, then tape the horizontal stripes and paint again. It looks like a picnic blanket in pumpkin form, and it is the single most-pinned style in painting pumpkins ideas DIY girly right now.
2. Big Pink Bow Pumpkin
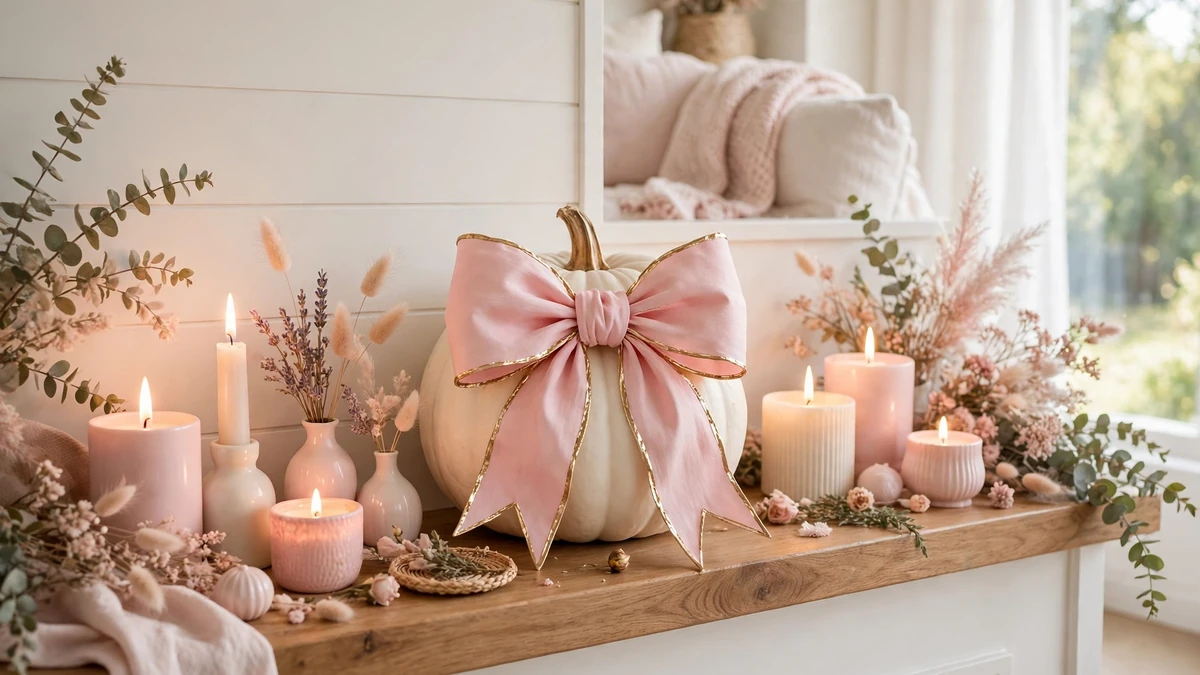
Paint the whole pumpkin clean white, then paint one big pink bow on the front with a fine-tip brush, and outline the bow’s center with a gold paint pen. It is simple, sweet, and looks adorable on a mantel or a porch step.
3. Navy and Pink Polka Dots
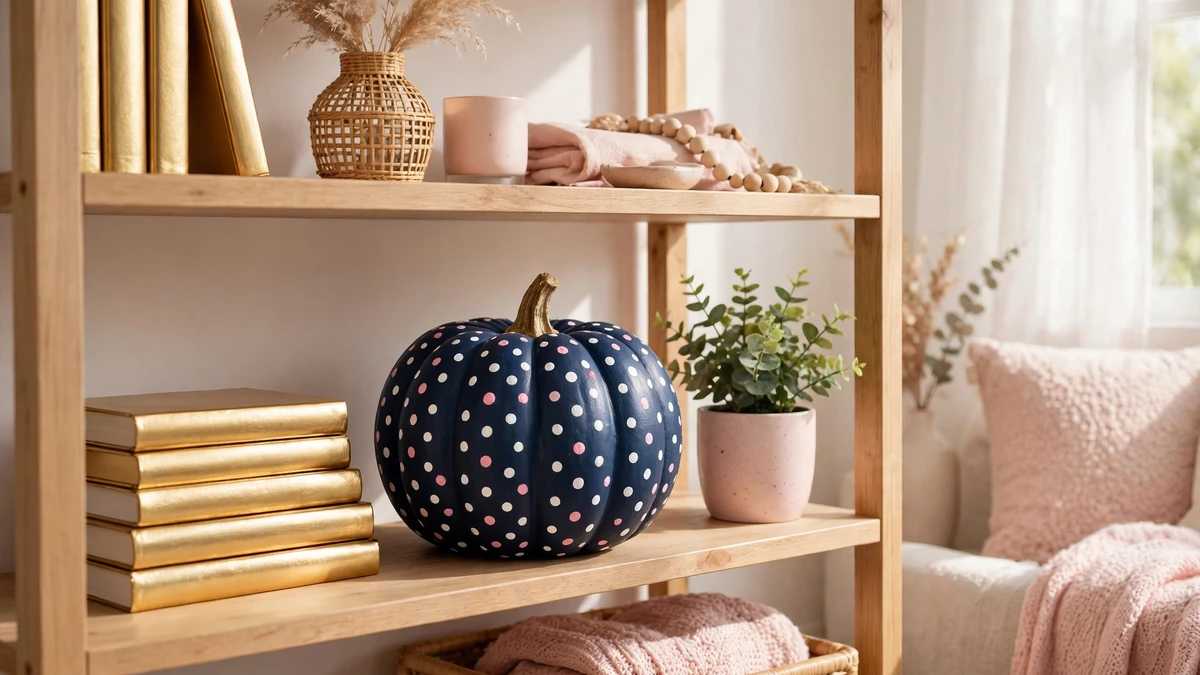
A navy pumpkin covered in white and pink dots is preppy perfection. Use a pencil eraser for small dots and a glue-stick cap for big ones, and keep the spacing even by following the pumpkin’s ribs like guide lines.
4. Gold Splatter Pastel Pumpkin
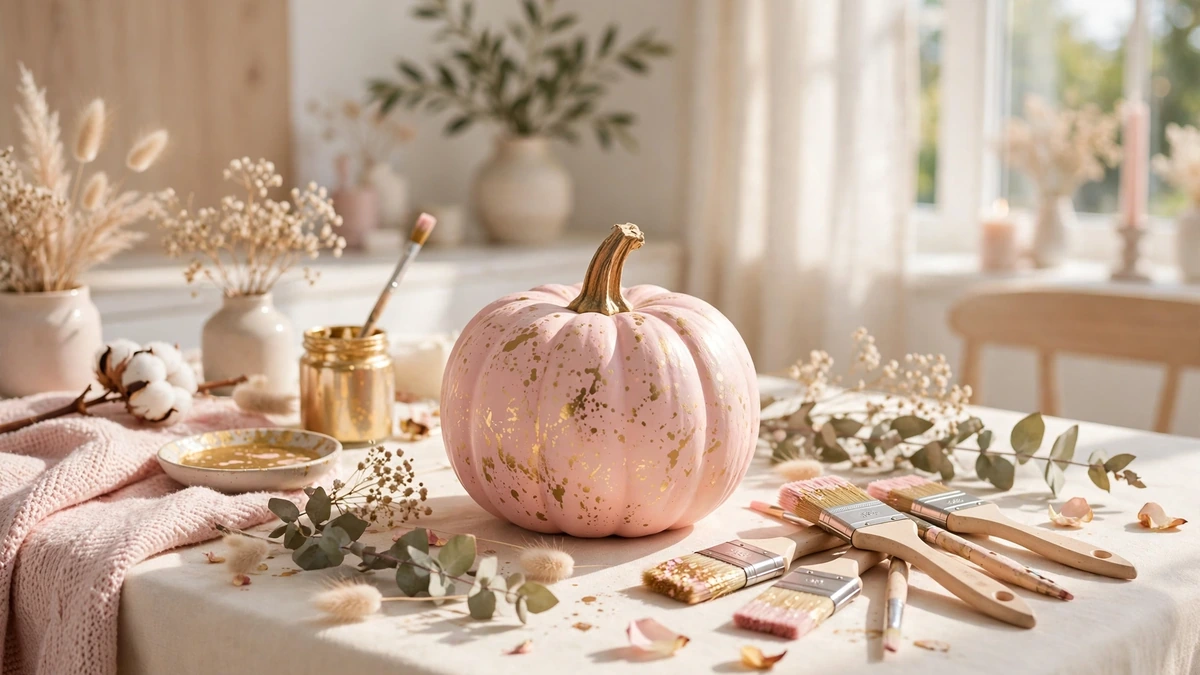
Paint your pumpkin dusty pink or sage, then flick gold paint off a stiff brush for a splatter effect. It takes about two minutes and instantly makes a plain pumpkin look expensive, like something from a boutique fall display.
5. Pink Floral Pumpkin
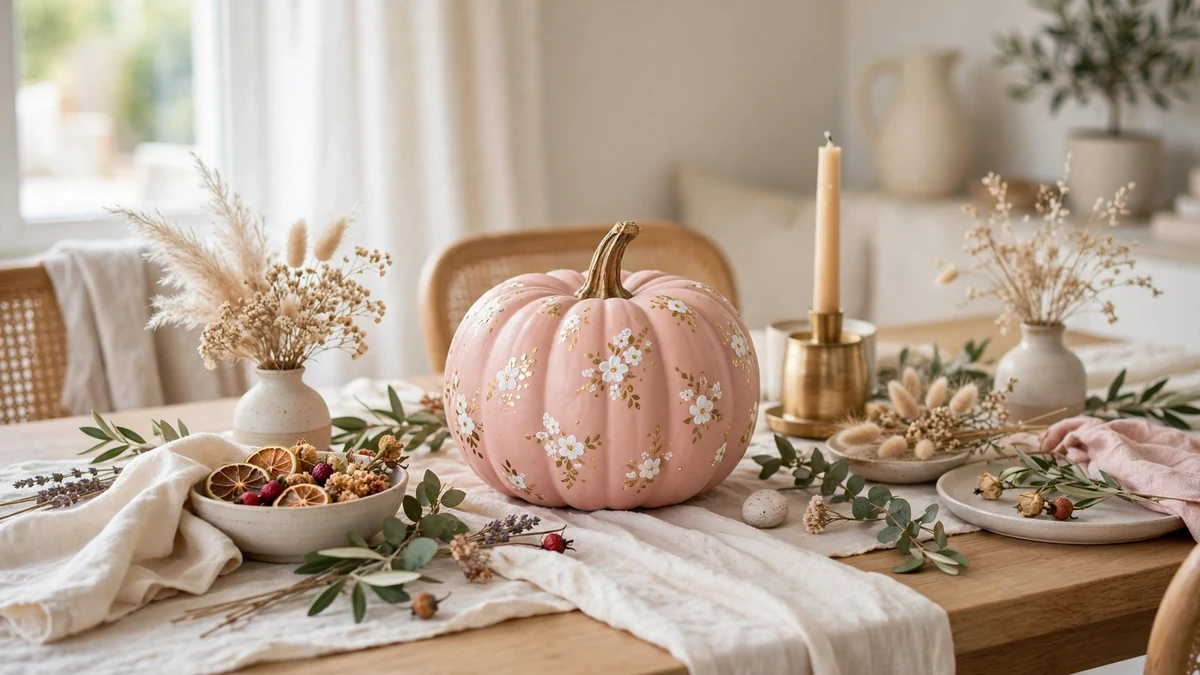
Small hand-painted flowers are easier than they look: five little petal dots around a gold center, repeated all over a blush base. Add tiny green leaves between the flowers, and you have a pumpkin that looks hand-painted by an artist, even if it is your first time holding a brush.
6. Gold Monogram Pumpkin
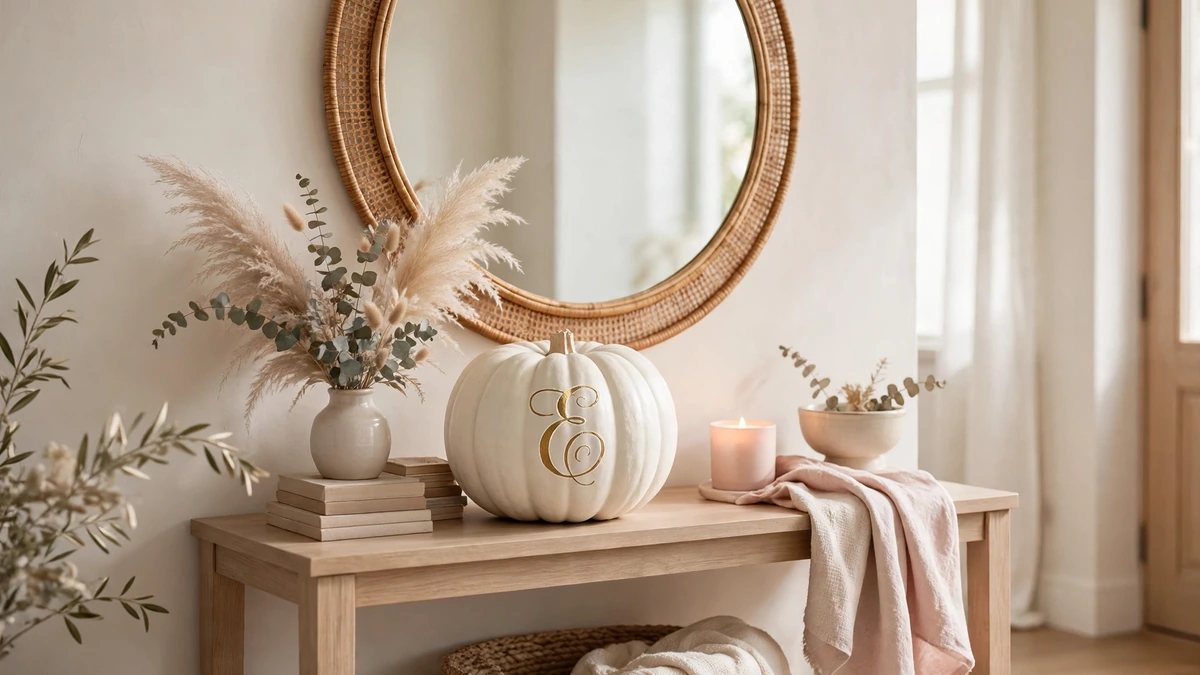
Paint the pumpkin white, sketch your initial lightly in pencil, then fill it in with gold paint or a gold paint pen. A monogram pumpkin on an entry table feels personal and polished, and it makes a lovely hostess gift too.
7. Pastel Ghost Pumpkin
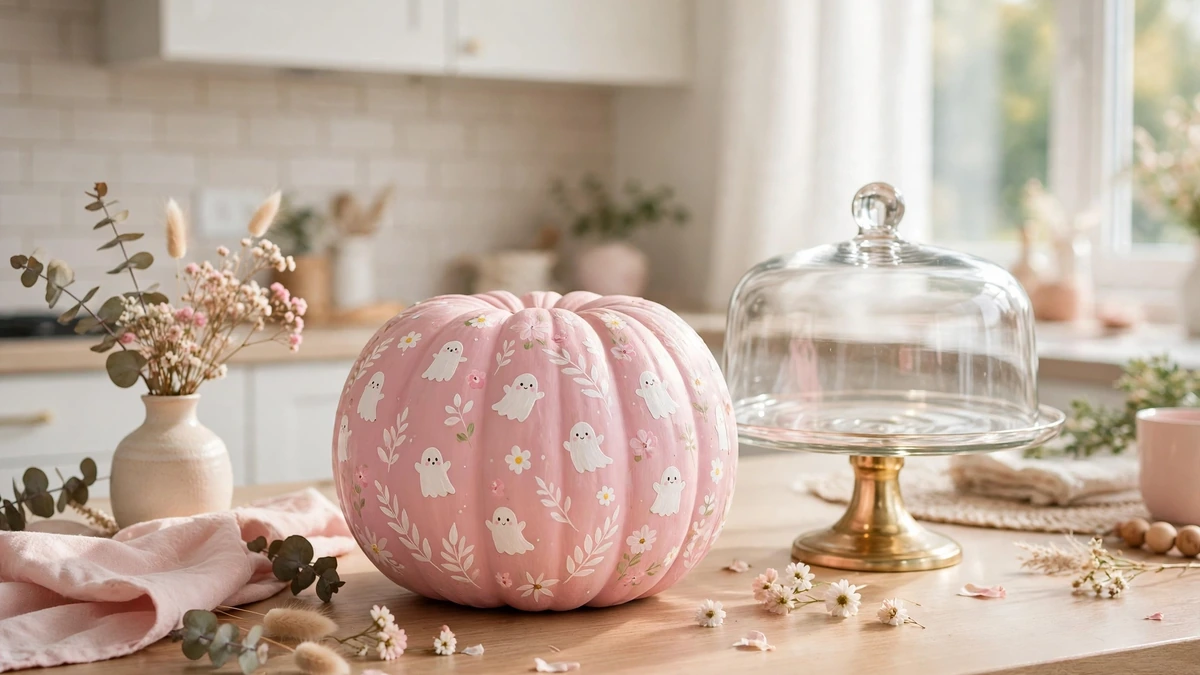
Paint the pumpkin soft pink, then add tiny white ghosts with little black eyes and a few small flowers around them. It is spooky in the sweetest possible way, and it is the cutest of all the painting pumpkins ideas DIY girly for a Halloween craft night with friends.
8. Pink and White Stripes
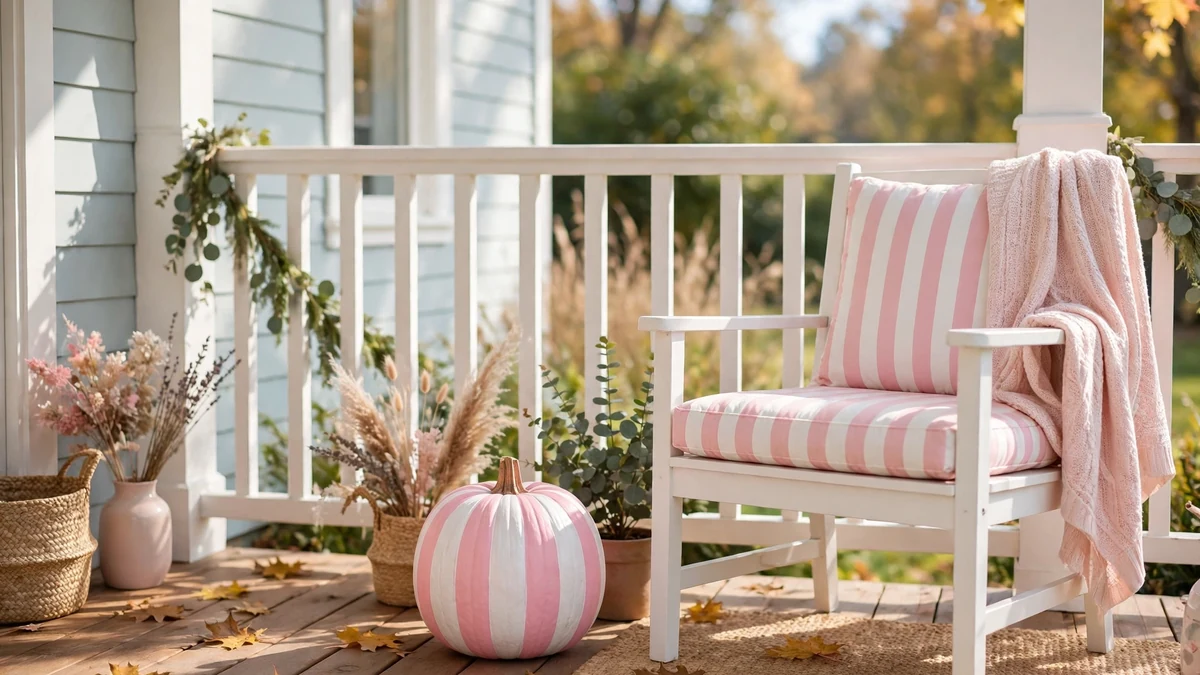
Tape off vertical stripes with 1-inch painter’s tape, paint the gaps pink, and peel the tape off only when the paint is completely dry. Crisp stripes, zero skill required, and the finished pumpkin looks like it came from a fancy home store.
9. Pink Plaid Pumpkin
Plaid is just stripes twice: paint vertical stripes in pale pink, let them dry, then paint horizontal stripes in a deeper pink over the top. Where the stripes cross, the color deepens naturally, and you get that cozy, preppy plaid look.
10. Pearls and Ribbon Pumpkin
Paint the pumpkin blush pink, then hot-glue a row of pearl stickers around the middle and tie a satin ribbon in a bow at the stem. It is the most elegant pumpkin on this list, and it works beautifully as a Thanksgiving table centerpiece too.
11. Blue and White Chinoiserie Pumpkin
White base, then loose blue floral strokes inspired by classic ginger jars. Imperfect brushstrokes look more authentic here, so it is very forgiving for beginners.
12. Candy Stripe Mini Pumpkins
Mini pumpkins are perfect for trying bold ideas in small doses. Paint each one a different pastel, add a white stripe or two, and line them up along a windowsill or a mantel. A row of minis is often prettier than one big pumpkin.
13. Glitter Ombre Pumpkin
Paint the pumpkin white, then brush glitter glue from the bottom upward, fading it out halfway. The ombre glitter catches the light beautifully on a porch in late-afternoon sun.
14. Daisy Chain Pumpkin
Paint a ring of little white daisies with yellow centers around a pink pumpkin, like a flower crown. It is fresh proof that fall pumpkins do not have to be orange and black.
15. The Porch Trio
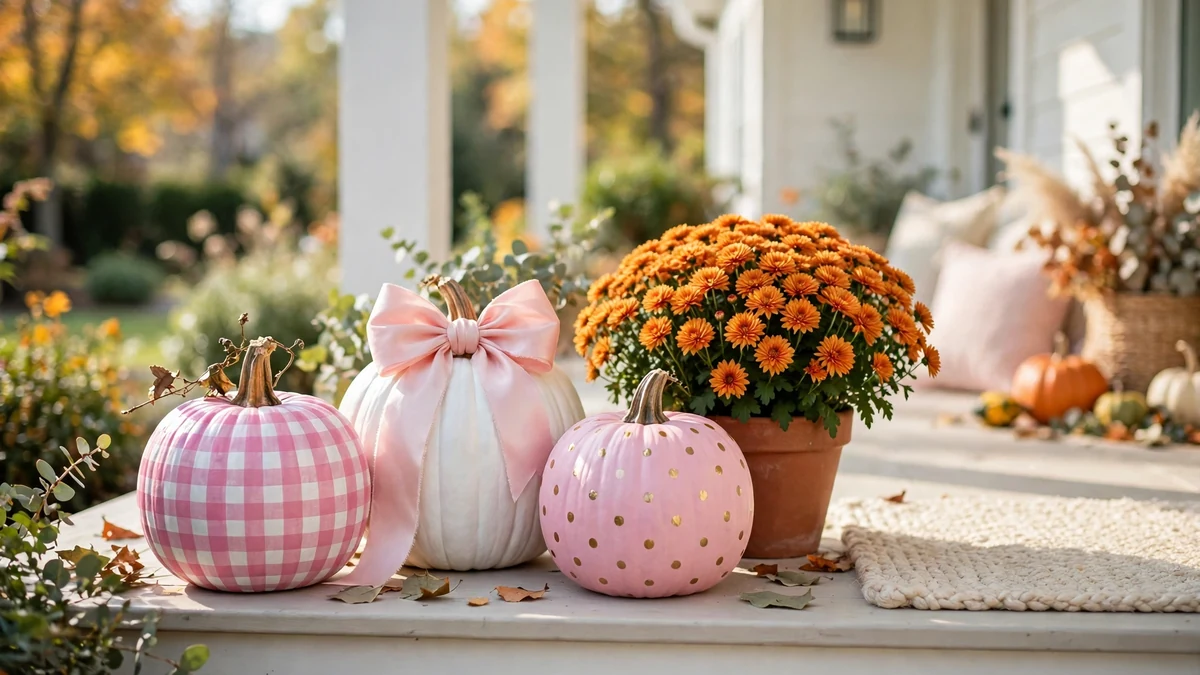
Do not stop at one: paint three pumpkins in one palette, say gingham, bow, and polka dots, all in pink, white, and gold, and group them on your porch with a pot of mums. A matching trio always looks more intentional than a single pumpkin, and it photographs beautifully for Pinterest.
5 Mistakes to Avoid
- Skipping the base coat. Pastel paint over orange skin goes streaky and dull. Two thin white coats first, always.
- Peeling tape while paint is wet. Wait until it is fully dry, or your crisp lines will bleed.
- One thick coat instead of two thin ones. Thick paint drips into the pumpkin’s ribs and dries unevenly.
- Forgetting the sealer. Unsealed paint fades and chips outdoors within a week or two.
- Using washable kids’ paint outdoors. It looks great for a day, then the first rain washes it away. Use acrylic craft paint for porch pumpkins.
How Long Do Painted Pumpkins Last?
A painted, sealed, uncarved pumpkin easily lasts five to six weeks, which means pumpkins you paint now will carry you from Halloween straight through Thanksgiving. Keep them out of standing water, bring them in during heavy storms, and touch up the sealer if a spot starts looking dull. Faux craft pumpkins, of course, last forever and can be repainted next year, which makes them a smart buy if you love these painting pumpkins ideas DIY girly enough to repeat them.
I hope this list gives you a porch full of pumpkins you are genuinely proud of. My favorite part of painting pumpkins is how personal it feels: no two ever look alike, and the slightly imperfect one is usually the one everyone asks about. So grab your paint, put on a cozy playlist, and make something pretty this weekend.
With love and paint on my sleeves,
Laura Bennett
Frequently Asked Questions
What is the best paint for painting pumpkins?
Acrylic craft paint is the best choice for most painting pumpkins ideas DIY girly: it is cheap, comes in every pastel color, and dries waterproof. For porch pumpkins, finish with a clear acrylic sealer so rain does not wash the design away.
Do I need a white base coat before painting a pumpkin?
Yes, especially for pastel and girly designs. Two thin coats of white acrylic paint make every color on top brighter and smoother, and they hide the orange skin completely.
Can I paint a real pumpkin, or should I use a faux one?
Both work. Real pumpkins look the most natural and cost less, but they last about five to six weeks. Faux craft pumpkins cost more upfront and can be reused and repainted every single year.
How long does it take for painted pumpkins to dry?
Each thin coat of acrylic paint dries in about 30 minutes, and the final sealer needs about 2 hours. The whole project, start to finish, takes roughly an hour of hands-on time plus drying.
Are painted pumpkins safe to leave outside?
Yes, once sealed with clear acrylic sealer. Keep them out of puddles and bring them inside during heavy storms, and they will stay pretty for weeks.
Can kids do these pumpkin painting ideas?
Absolutely, and that is the beauty of it: no knives, no mess, no carving. Younger kids do best with washable paint and dot markers on mini pumpkins, while older kids can handle acrylic paint and tape patterns.
FTC Disclosure: This post contains Amazon affiliate links. As an Amazon Associate, I earn from qualifying purchases, at no extra cost to you. Thank you for supporting Decor and Dish.